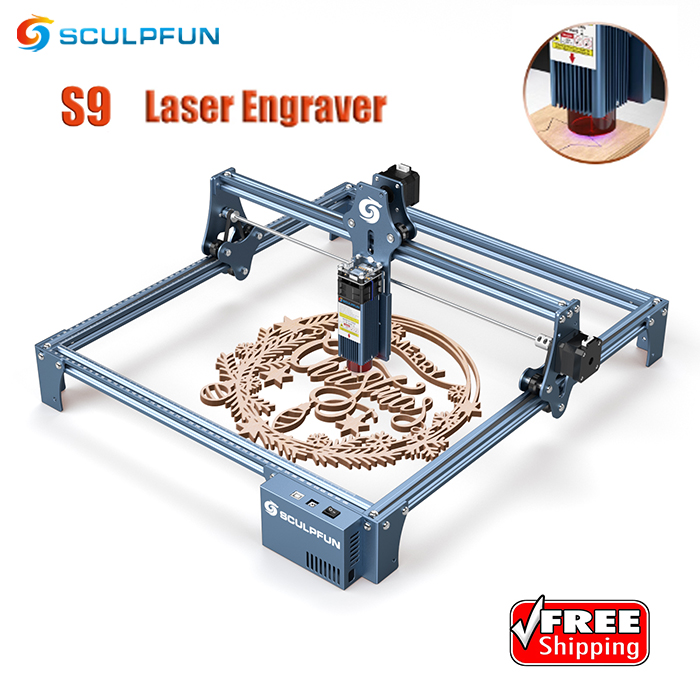
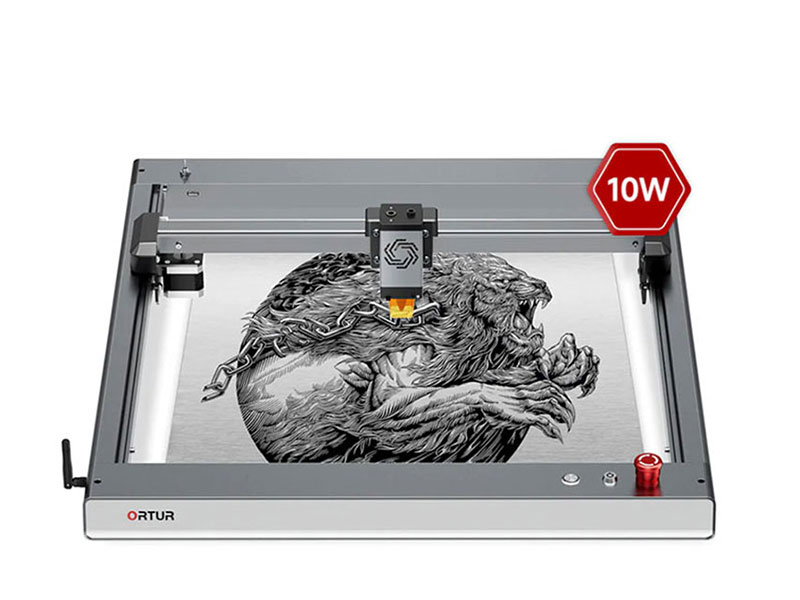
Sculpfun is a Chinese company from the tech metropolis of Shenzhen, and from there has gained a worldwide reputation for its diode lasers. Sculpfun S9 and Sculpfun S10 are very popular laser engraver,and there are only positive reports about these products.The new laser engraving machine, called the Sculpfun S10, has a 10W diode laser installed, so it has twice the power of the S9.
SCULPFUN S10 Engraving Machine Packing List:
| 1x X-axis assembly | 3x support feet | 1x USB cable | 1× Test wood board |
| 2x X profiles | 1x S10 laser | 1× Air Tube | 1 x A4 size metal pad |
| 2x Y profiles | 1x 12V 5A power adapter | 3× Tool bag | Step 1-6 Install the package |
| 1x Control Box Assembly | 1x power cord | 1× Laser Goggles | 1 x User Manual |
Construction:
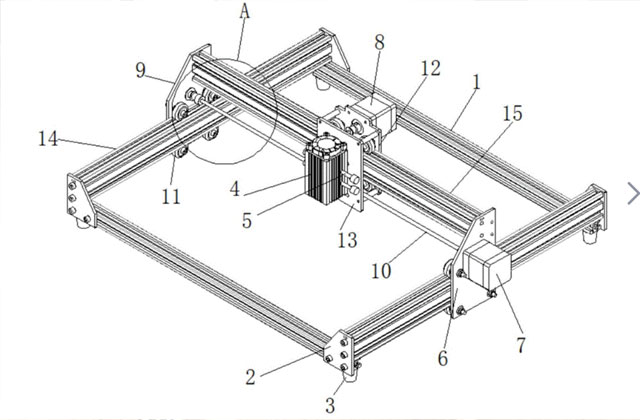
The construction of the S10 laser engraver is easy and can be assembled within a few steps. For this we get an English manual with pictures, it is particularly nice that all aluminum profiles and bags in which the screws are located are marked with the respective step. So you have the right screws at hand.
In the first step, the back is connected to the left and right aluminum profiles with a stand, with three M5 screws on each side. The screws M5*30 and M5*18 come in the aluminum profile on the right and left. Marked as screws 2 & 4 in the instructions. You just have to make sure that the right screw is used everywhere. Since these are three different screw sizes.
In the second step, the X-axis unit is first pushed onto the aluminum profile and then screwed to the front aluminum profile and a stand (left) and the control unit on the right. In this step, you will also need 3 screws on each side. Please pay attention to the right screw size again.
The third step is the most difficult, here we have to move the belt, this is a bit fiddly, but with a little skill this can also be done very quickly. In the fourth step we need to attach the strap, this is done with two t-nuts on each side.
In the fifth step, we attach the protective cap to the laser, this is done with two M3 screws. Then we slide it on the slide and fasten the laser with the two M4 screws.
In the last construction phase, we lay the cables correctly and plug the cables into the stepper motors. You can't go wrong here, since the cables are all protected against polarity reversal. When all cables have been connected to the correct motors, the cables are fixed with cable ties. Then we only have to lay the hose for the AirAssist.
We needed about 15 minutes for the complete setup. Everyone should be able to set it up and it's not rocket science. Anyone who has already set up a 3D printer should have no problems at all.
Design & Technology
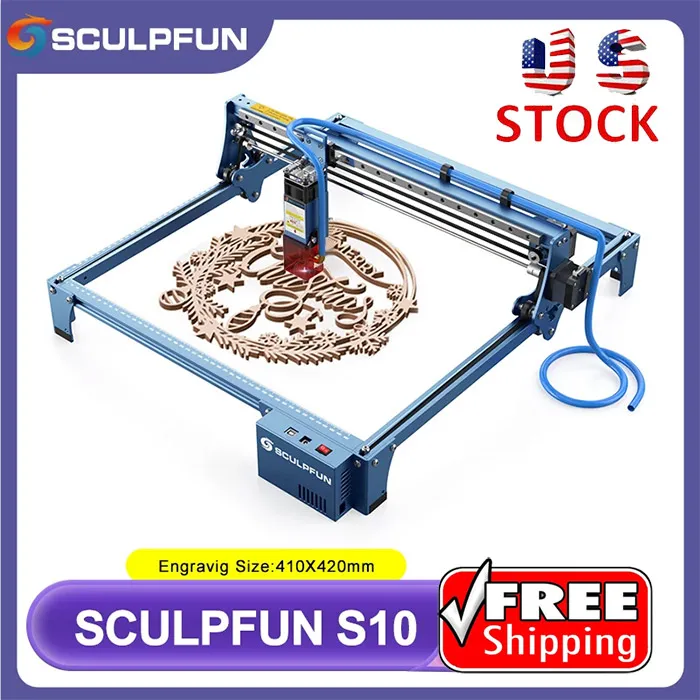
In our opinion, the design of the Sculpfun S10 is successful and looks really chic, especially the color is really impressive. A big change from the S9 has been made on the x-axis. The laser now sits on line rails here, which we find positive. This enables the laser to drive precisely to the point. This is particularly visible in the engraving details, where the line is engraved beautifully straight. Wavy lines are a thing of the past, other laser engravers have this problem.
The Sculpfun S10 also has a high-speed AirAssist. The nozzle in it has an advanced fluidic design, which makes better use of the air pressure. By using an air compressor, the S10 sprays the airflow for significant cutting efficiency. For example, if we use a 30L/min 0.03MPa air compressor, the S10 nozzle will spray a high-speed air stream of up to 14.5m/s. This significantly improves cutting and engraving and we no longer have smoke marks on the wood. The laser goes through the wood so softly that it is really impressive.
Sculpfun offers a small, compact air pump for the perfect air pressure, but this must be purchased separately. The air pump in combination with the laser offers excellent results. The air pump has a total size of "17x14x6 cm". Anyone who buys this laser should also order the small, compact air pump at the same time.
The laser engraver machine has also been improved on the Sculpfun S9, for the first time a 10W output power is given and is therefore twice as high as was the case with its predecessor. In addition, the laser beam has been refined and now has a focus of 0.08 mm. This means that the laser has an even higher energy density. Which increases the cutting and engraving power again.
The S10 also has a 32-bit motherboard, which significantly improves the computing speed. There is also the option of installing a Z-end stop. We would have wished for this from the factory.
The laser engraver comes in a work area of 410*400mm, which should be enough for most projects. If you need more workspace, Sculpfun offers an expansion kit that can increase your workspace by 230%. To do this, the Y-axis is simply extended and you get a working area of 950x 400 mm.
Software:
Before we can actually start, we need software that can control the laser. The laser can be operated with the free Laser GRBL software. However, this procedure is neither intuitive nor clear. We can only recommend Lightburn software here, but the program is only free for the first 30 days. But if you want to take this project seriously, you should definitely buy this software. The software offers some nice features and is easy to understand. Lightburn is available for Windows and macOS.
Operation:
First, we need to make sure the laser engraving machine is connected to the PC. After starting the software, the laser is set up in just a few steps. To do this, we click on the Devices button on the lower right-hand side (tab Laser). Now a new window should open, here we click on Create manually. In the next window, we scroll down and select the GRBL and click Next. In the next section, we select Serial/USB and click on Next again. Now we give our laser a name, i.e. Sculpfun S10, and enter the working area, i.e. 410 × 400 mm and click on Next again. Here we just need to position the dot at Laser when starting in “Auto Home”? Deactivate. Please do not forget this, as our laser has not installed an end stop. When we have deactivated the point, we click on Next again. Now we get an overview of the settings that we have just made and now click on Finish to complete the setup.
Import vector files:
Now that our laser is set up, we can start with the first project. To do this, we import a vector graphic by pressing CTRL+I or File → Import. Now we select our graphic and confirm it with OK. By now we should see our file on the workspace. Now we can make our desired settings under Sections/Level. When you have done this, you can click on the Frame button under the Laser tab, and the laser will now drive over the work site. So you can position your workpiece in the right place. In addition, the exact distance to the material should be measured with the distance meter. To do this, simply set the distance between the material and the laser and fasten the laser with the two screws. If everything fits, you can start with the laser by clicking on the "Start" button.
Projects with the S10:
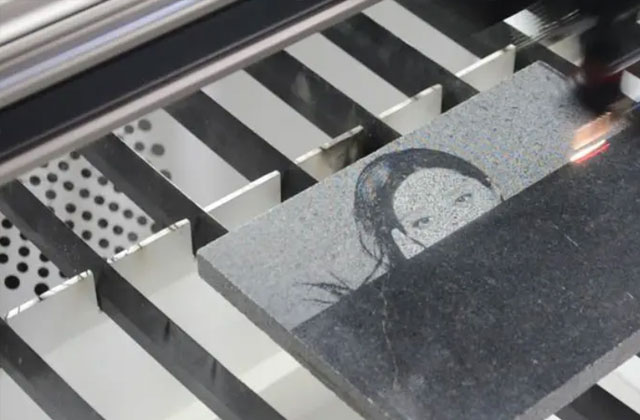
Working with the Sculpfun S10 is very easy for users with a sufficient basic technical understanding and for experienced users from the 3D printing sector. Engraving painted metal, leather and wood works flawlessly. The engraving depth in particular shows that the Sculpfun S10 has sufficient power. When properly focused, the 10W laser does an excellent job. Details and outlines are noticeable and burned into the wood with crisp definitions. The cutting performance of the Sculpfun S10 is also really exciting, here the laser goes through the wood as soft as butter. The S10 cuts most 3-4 plywood in one pass. The S10 also cuts other wood up to a thickness of 10 mm but requires several passes.
The exact parameters are different for each material, we tell you about our experiences here. A bit of testing is required here, or you can do a parameter test with each material at which performance and speed the best results are achieved.
We have e.g. For example, the following parameters from the table were used for poplar wood from the hardware store, but I have to say that the parameters have changed somewhat from board to board. It is really important to try and experience values here.
| Cutting | Engraving |
| poplar wood: Type: cut Thickness : 3 & 4 mm Speed: 5-10mm/s Performance: 80% - 90% Number of passes: 1-2 |
poplar wood: Type: Engraving Thickness : 3 & 4 mm Speed: 40mm/s Performance: 30% Number of passes: 1 |
| Leather: Type: cut Thickness: 1 mm Speed: 7mm/s Performance: 90% Number of passes: 1 |
Leather: Type: Engraving Thickness: 1 mm Speed: 25mm/s Performance: 12% Number of passes: 1 |
| Jeans: Type: cut Thickness: 0.3mm Speed: 10mm/s Performance: 90% Number of passes: 1 |
Jeans: Type: Engraving Thickness: 0.3mm Speed: 25mm/s Performance: 10% Number of passes: 1 |
| Painted metal: Type: Engraving Speed: 100mm/s Performance: 20% Number of passes: 1 |
Note: These are just our guidelines for good results and these values may change for you.
Highlight Enormous cutting strength:
A very special highlight of the Sculpfun S10 is the enormous cutting power of the laser. We tested different thicknesses of different materials. Here, among other things, the laser cutting perfectly cut 10 mm thick paulownia wood with just one pass. It is important that the compressed air support is on.
Black acrylic 8 mm can also be cut perfectly with just a few passes. This proves how strong the laser really is, the laser is therefore ready for use in many areas. To do this, we cut letters or shapes from various materials.
So if you want to cut different materials with the laser cutter, you won't go wrong here. It is fascinating how the laser glides smoothly through the materials.
It is incredibly fun to work with this product. We do not recommend using the laser engraver machine at 100% power. Otherwise, the service life of the laser engraver machine suffers extremely and will break down more quickly. We recommend 80-90% power. This is also completely sufficient.
Accessories:
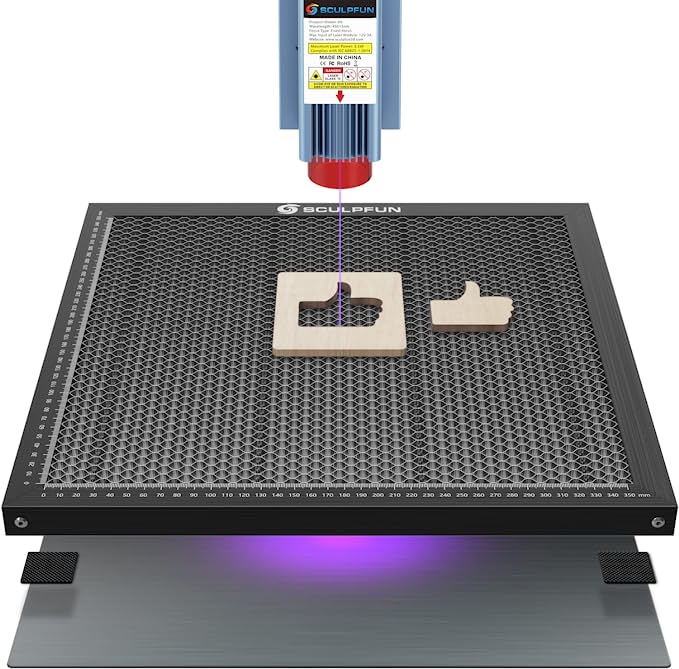
There is also a Sculpfun honeycomb form that serves as a base for the materials that you want to laser. The honeycomb pattern minimizes burns and yellowing. A right-angled measuring scale on the x and y axis allows you to measure the cutting object quickly and easily. The honeycomb is cleanly finished, has no sharp edges and did a good job in our test, especially when cutting wood. The dimensions are 400 × 400 mm. The honeycomb is not included, but it is available separately
Shop
If someone decides to buy it, you can buy it on the HTPOW website, which is the largest and most famous engraving machine agent in China, the products are all from the original brand factory, and the current cost of the laser is about $570.
Conclusion:
With the Sculpfun S10, we get an ingenious laser engraver that inspired us from the first minute. Anyone who deals with the matter will find their way around quickly and achieve great results. Sculpfun has cleverly further developed the new diode laser, the AirAssist in particular knows how to please. The cutting performance and engraving performance are great thanks to the 10W laser and even 10 mm thick materials can be cut without any problems.
In practice, however, the open case bothered us. We would wish for a suitable case here. Since the smoke development is very extreme, especially when cutting wood, you have to have a very well-ventilated room here and the smell is not exactly pleasant either. Nevertheless, we are presented here with a high-quality laser from Sculpfun. If you are looking for a laser, you really can't go wrong here. It is currently the most powerful diode laser on the market. We can recommend the laser to everyone, really brilliant projects can be implemented here. Especially in model-making or DIY projects can be implemented very easily.


.jpg)