A common question I hear is "Can you laser cut paper without burning it?" With a little preparation and the right settings, you can get laser cut paper without any burn marks. Excellent, clean, burn-free laser cutting on most types of paper and even cardboard.
So, How to Get Laser Cut Paper Without Burning It?
Make sure your mirrors and lenses are clean and properly focused to get the basics right. Use the shortest focal length lens you have (1.5~2.5 inches) and use as much air assist as possible without disturbing the paper. Depending on the laser used, the power should be 10~17% lower, and the speed should be about 20~30mm/s.
These settings will keep your laser cut paper from burning. You will need to do some additional testing to get the best results for your specific laser machine. I've put together a few tips to make life easier for all of you card makers.
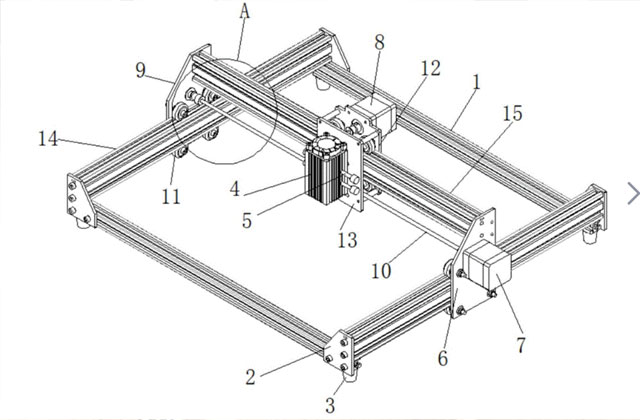
Choose a good laser engraving and cutting machine, an excellent cutting machine can ensure the perfect production of your work, you can choose a laser engraving and cutting machine from xTool and Ortur, because they are very good on the market now Manufacturers of laser engraving and cutting machines, you can also choose xTool M1, a 3 in 1 laser engraving and cutting machine with a blade cutting and laser engraver, which can meet your more needs.
Optimizing Laser Cut Paper Settings
Everyone's laser machine is different, and even within the same model, the power output of different levels will vary. Therefore, it is best for you to do some preparation and testing to determine the best results for your own specific machine.
Get the Correct Focal Length:
This is easily the most important factor in achieving clean laser cutting with paper. Errors as small as 1mm can have a huge impact on your results, and this becomes even more severe when using lenses with shorter focal lengths. Consider building yourself a focus ramp to pinpoint the correct focus position for each lens you use.
Leveling the Table:
If your table is not level, your attention will be distracted throughout the job, which can result in areas with thicker cut thicknesses (cuts), or even areas where the laser doesn't fully cut. The larger the paper size used, the more important this becomes.
Clean Your Desk:
Before starting the test, make sure your mirrors and lenses are clean. Although the mirror needs to be checked weekly, you should check and clean the lens every time you use the machine.
Flat Material:
Unfortunately, paper and card are prone to curling or bending, so it is necessary to ensure that the material is kept completely flat during the cutting process. If you're cutting on a honeycomb bed, you can use magnets to hold the paper in place. If you're doing high volume production, it might be worth building a pin table or jig to hold the paper.
I usually use a needle stand and place 9mm diameter neodymium magnets on the corner needles to hold the paper in place.
Be aware that if you are cutting on a honeycomb bed, there is a significant risk of laser flashback leaving marks on the back of the paper. In many cases this may not matter as the finished product can only be viewed from the top side. It's not easy to use a stand on a flexible material like paper, so your best solution is to put the paper on a sacrificial card.
Air Assist:
It's best to set the air assist higher to cool the cutting area, but not too high as it will blow the scraps of paper back to the surface, possibly affecting the cutting in different areas.
Smoke Exhaust:
Good fume extraction will prevent debris from falling back onto the surface of the paper. Ideally, you should allow air to flow over the surface of the paper, which will carry the smoke away as soon as it is created. It pays to mask unused areas of the bench to maximize this airflow.
Power and Speed Settings:
Typically, jobs involving laser cutting paper tend to be on small-sized sheets and have intricate sections. Trying to run at high speed and power may work for larger regular shapes, as the laser has a chance to accelerate to the specified speed. However, when you look at the complex job of the laser head constantly changing direction, you can never reach the specified speed due to the acceleration limitations of the machine. This can cause too much laser energy to be used on the material and cause burns.
Blend Settings Based on Application
When I cut paper, I usually have two settings:
- Low speed/low power for complex jobs
- Speed: 30mm/s | Max/Min Power: 11.5%/10% (about 9W)
- High speed/higher power for outer boundaries or large conventional objects
- Speed: 150mm/s | Max/Min Power: 18%/15% (about 18W)
Your testing will determine the appropriate high speed/high power setting and will involve cutting the cubes to determine the power setting to achieve the fastest possible cut without any risk of burning. I recommend that you limit the size of the square to 20mm (0.8"), as any larger square may give skewed results, as the head may never reach the speed it's actually working on.
Once you have a decent high speed/high power setting, it's worth checking how long it takes to cut a test square, then repeating the job at a slightly slower pace. If it takes the same amount of time at the slower speed, it means that the laser is not actually reaching the specified speed during the job. Gradually reduce the speed to find the cut point where the job starts to get slower and slower. This is important because if you run a job longer than 20mm, you run the risk that the laser will not cut completely.
You can then start testing the low speed/low power setting at the higher setting of 50% and use a 7.5mm (0.3") square for testing.
Unfortunately, the exact settings cannot be given to you, as it all depends on the characteristics of your laser machine.
If available, save the settings in your package, otherwise set up a reference folder to store all your results for easy reference.
To prepare the laser artwork:
When setting up a job that combines complex work and long-running, you need to group all complex objects on low settings and long-running jobs on high settings. Just make sure the border is the last thing to cut.
Frequency Setting:
There are two main technologies for CO2 laser cutters, glass DC CO2 laser tubes and RF "metal" CO2 tubes.
- Glass DC CO2 Laser Tube: When cutting paper, you want the laser tube to run in its pre-ionization stage, typically found between 9-17% power, although this will vary from tube to tube. It is characterized by a "sizzling" sound during cutting.
- RF Metal CO2 Tube: In this type of tube, the frequency can be changed, it is recommended to set 500~1200Hz for cutting paper.
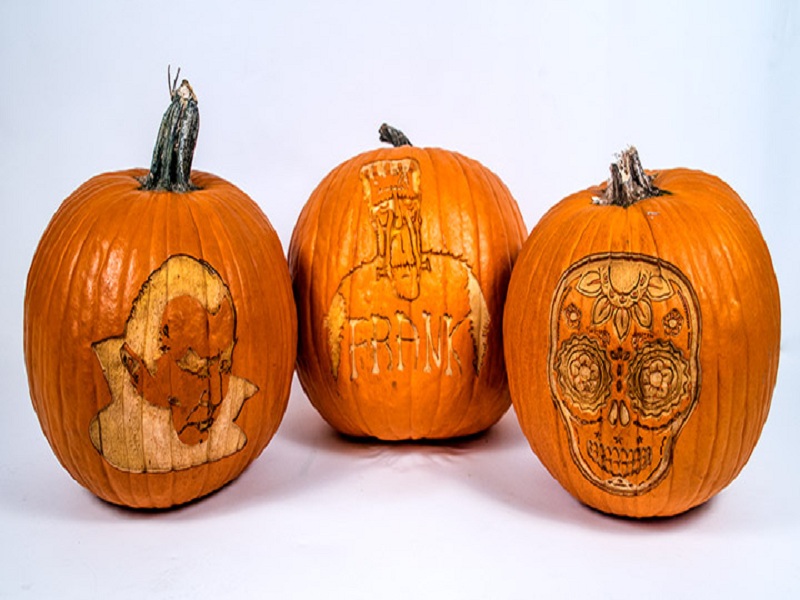
What Can be Achieved With Laser Cutting Paper?
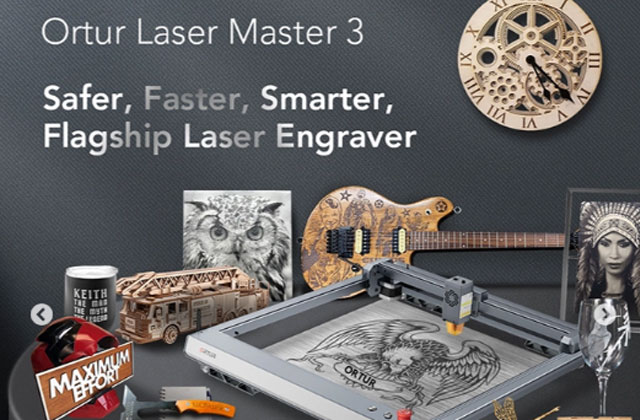
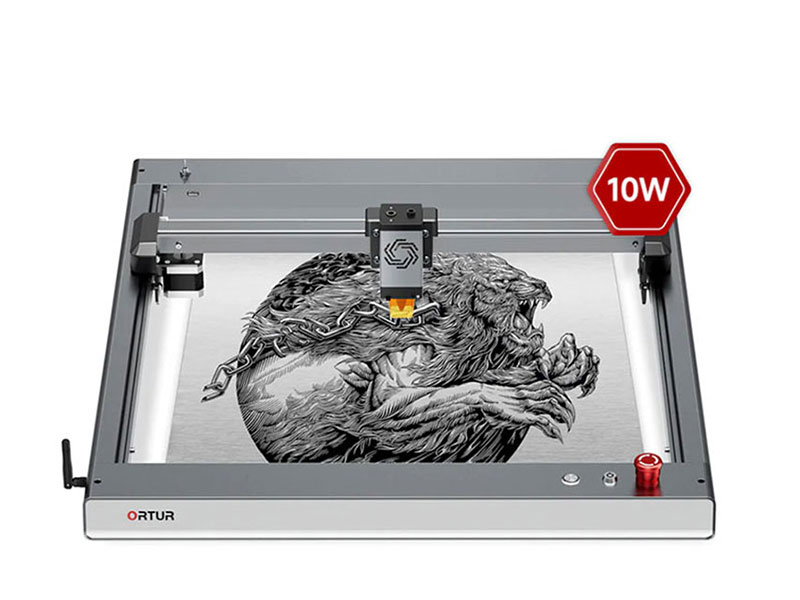
Check out this awesome Christmas card made by my good friend Russ Sadler using the Ortur Laser Master 3 to see the details that can be achieved by laser cutting paper.
Conclusion On Getting Laser Cut Paper Without Burning
That's my advice on how to laser cut paper without burning it. There are many key areas to cover, some of which are specific to your laser machine, but none are particularly difficult. Once sorted, you'll have your own repeatable setup for cutting paper with a laser without leaving any burn marks.
How Do You Laser Cut Corrugated Cardboard?
So, how to laser cut corrugated cardboard? You might think that cutting corrugated card is very similar to cutting paper or single ply cardboard, you just need more power because it is thicker. Consider the structure of corrugated cardboard. Two, three or even four flat layers or liners, each separated and connected by wavy or corrugated layers called grooves. When laser cut, the grooves trap smoke between the layers, dispersing the laser beam and causing a lower beam penetration into the cardboard. The usual response is to increase the power or decrease the speed, but all of this can lead to burnt edges and the product can catch fire if you're not careful.
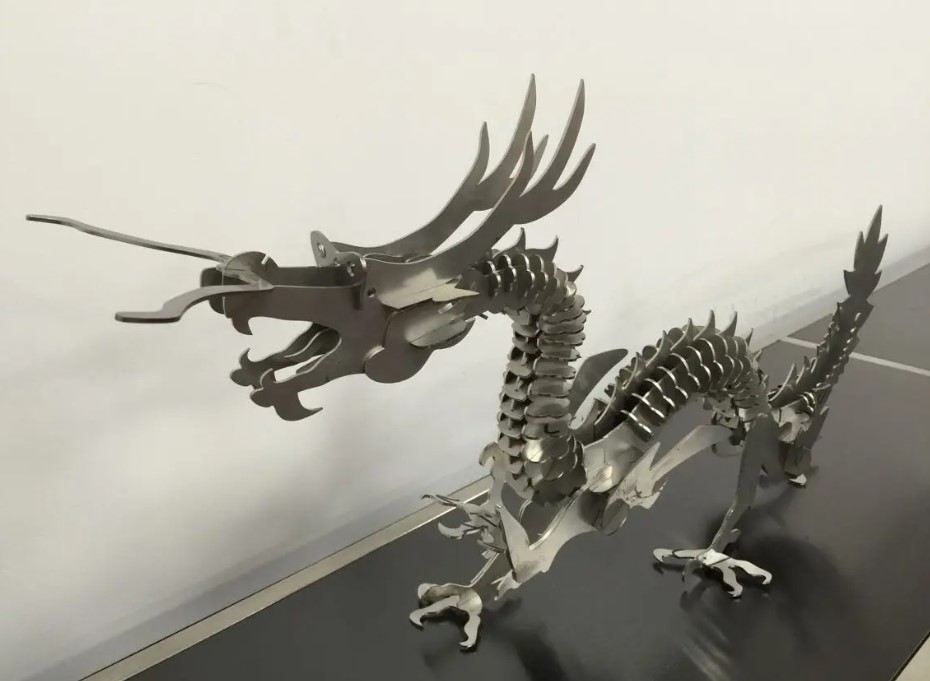
I used the xTool D1 Pro as the working laser engraver set up to cut. "dot mode" as my preferred solution instead of cutting straight. Dot mode can have different names on different software platforms, but it is essentially a pulsed laser, not a continuous power output from a laser tube. Pulsed lasers mean you can punch through corrugated cardboard with high power, but not long enough to affect the surrounding material.
You need to adjust four parameters; Speed, Dot Time, Dot Length and Dot Interval. Settings will again vary based on your specific laser, but a good starting point is:
- Dot time = 0.1s
- Speed = 30mm/s
- Dot spacing = 0.07mm
- Point length = 0.1mm
Your goal is to get a 20mm (0.8") test square off with little or no charring of the edges. Be careful during the test as it is easy to accidentally catch fire on the cardboard.
If you want to know more cutting methods, then you can go to HTPOW website to learn more tutorials and methods, we will provide you with many excellent carving methods and some ideas.