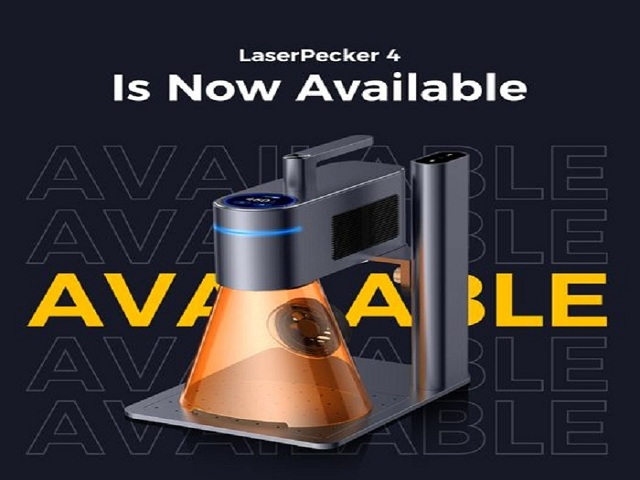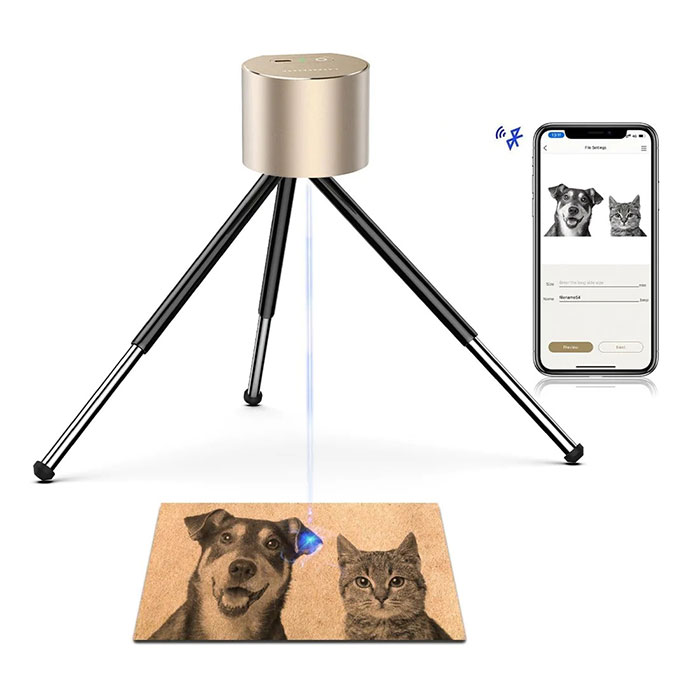
The first-generation LaserPecker might be the funniest gadget of 2020. Now let's look at the professional version, what is the professional version? How does the performance compare to the base version? We'll find out about all of them in this review. You can get it from the HTPOW and get a good price.
Both versions are functional, fun, and easy to use, so you can get as creative as you want. And you know LaserPecker 1 Pro is really portable, you can basically print on the go.
Specification
- Laser power: 1600mw
- Laser reach range: 100 x 100mm
- Laser life: 10,000+ hours.
- Power adapter: 5V2A
- Connectivity: USB Type-C, Bluetooth
- Materials: cardboard, fabric, wood, leather, felt, plastic, etc.
- Dimensions: 25.00 x 21.00 x 13.50 cm
- Product weight: 1.8000 kg
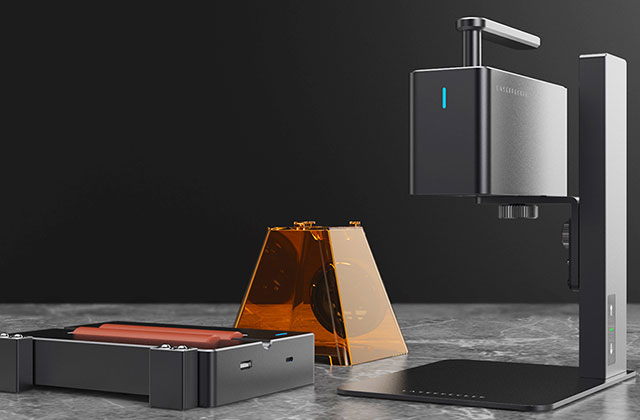
What's in the box
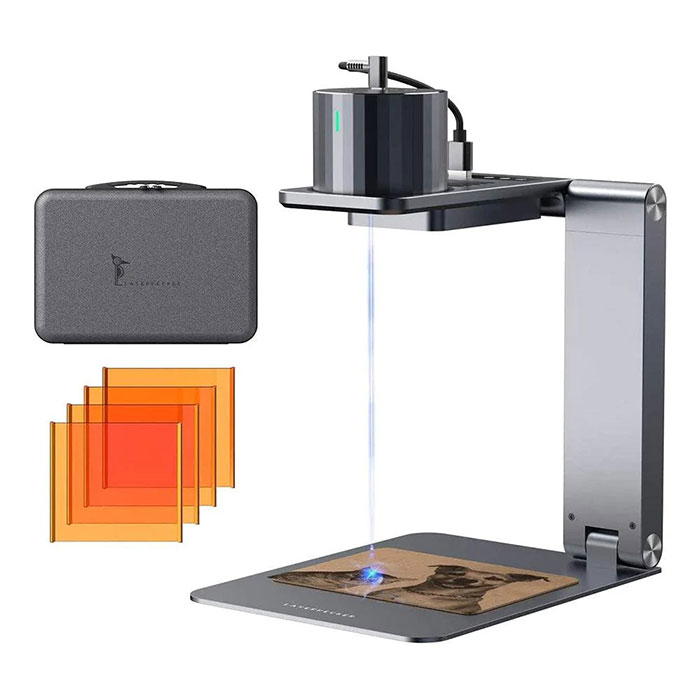
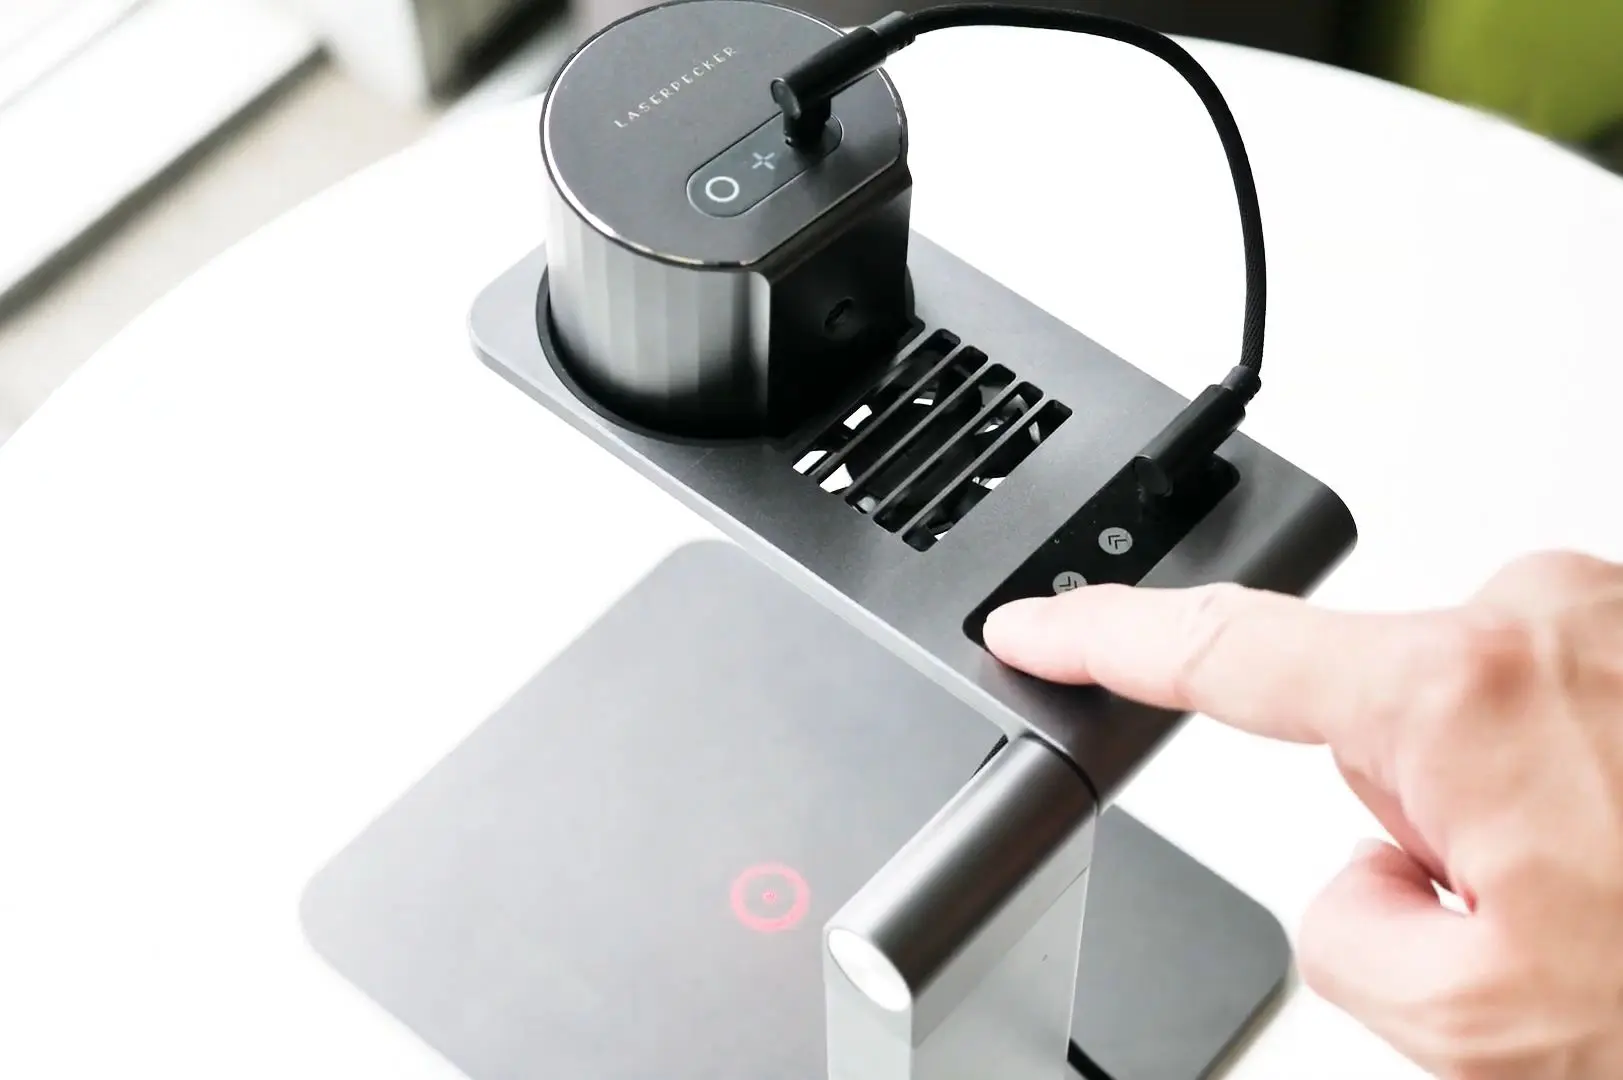
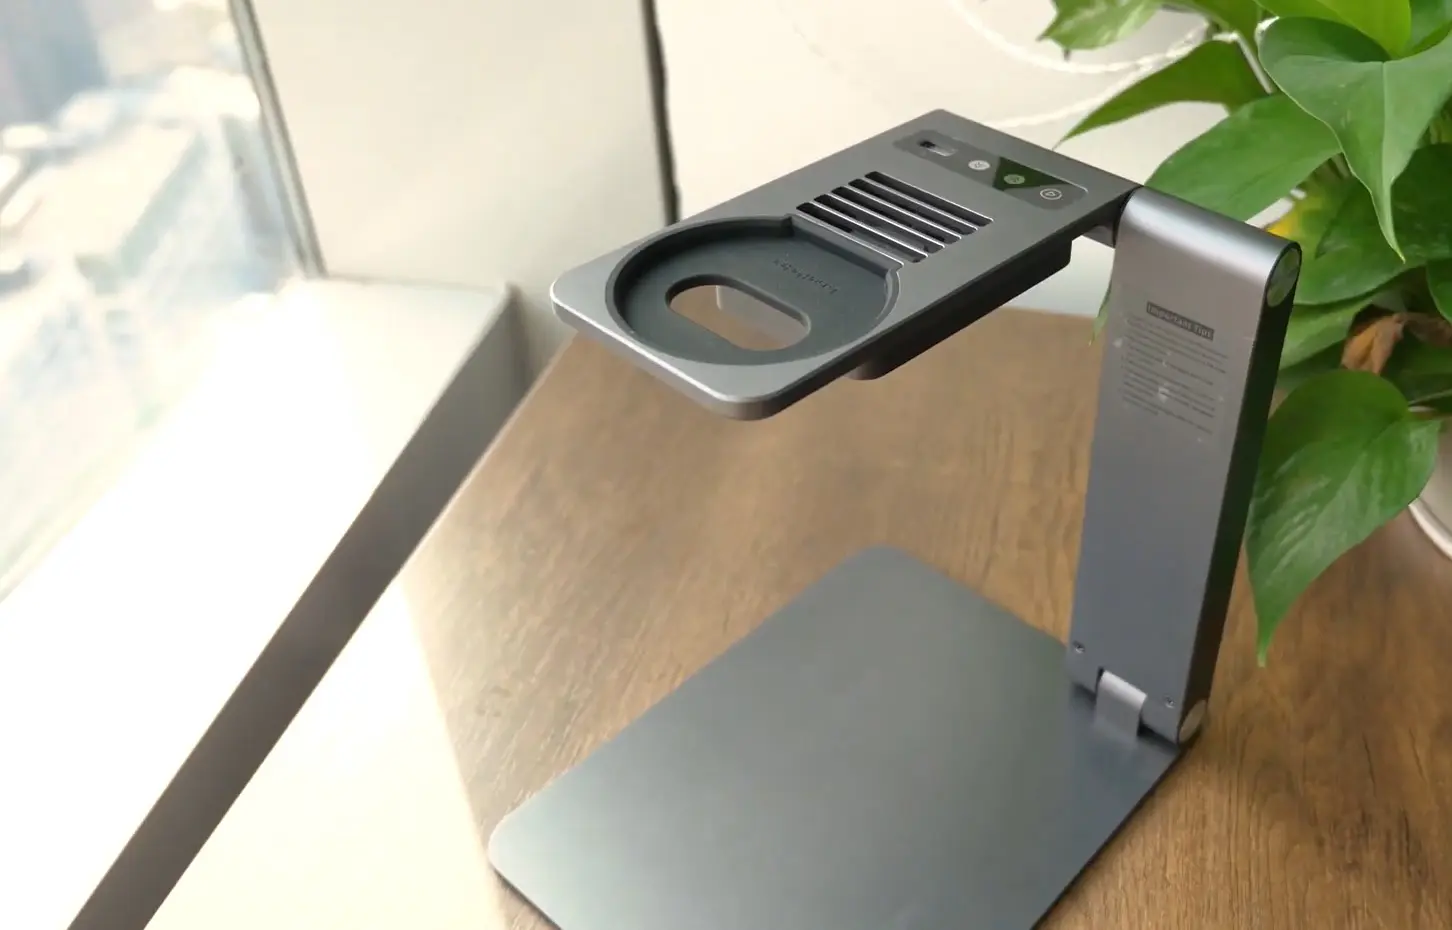
So first, let's see what's inside the box. The biggest difference from the original is that the pro version has a magnetic cover and of course the autofocus mount, with which you can easily set up and work quickly.
I like this bracket very much, it is made of aviation aluminum alloy, has fine workmanship, is polished in place, very solid, and high-end. You can even place it on your coffee table as a centerpiece.

- Package Contents
- Laser 3ngraver
- Motorized Stand
- Glasses
- Adapters
- Data Cable
- Mini engraving kit
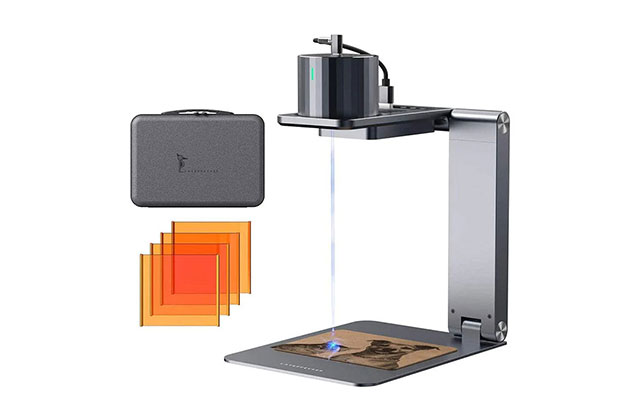
How to Use
Setting up the machine is very simple: just unfold the stand, place the engraving head on the stand and connect it with the cable that came with the box, and finally connect the stand to a power source, it can be a power adapter or a power bank.
Now long press the power button to open the stand, then you can put the material you want to engrave under the head, short press the power button, and it will start autofocus, that's it.
This is much better than its predecessor, instead of using a ruler to measure distances and manually adjusting the tripod, just one button saves you all the hassle.
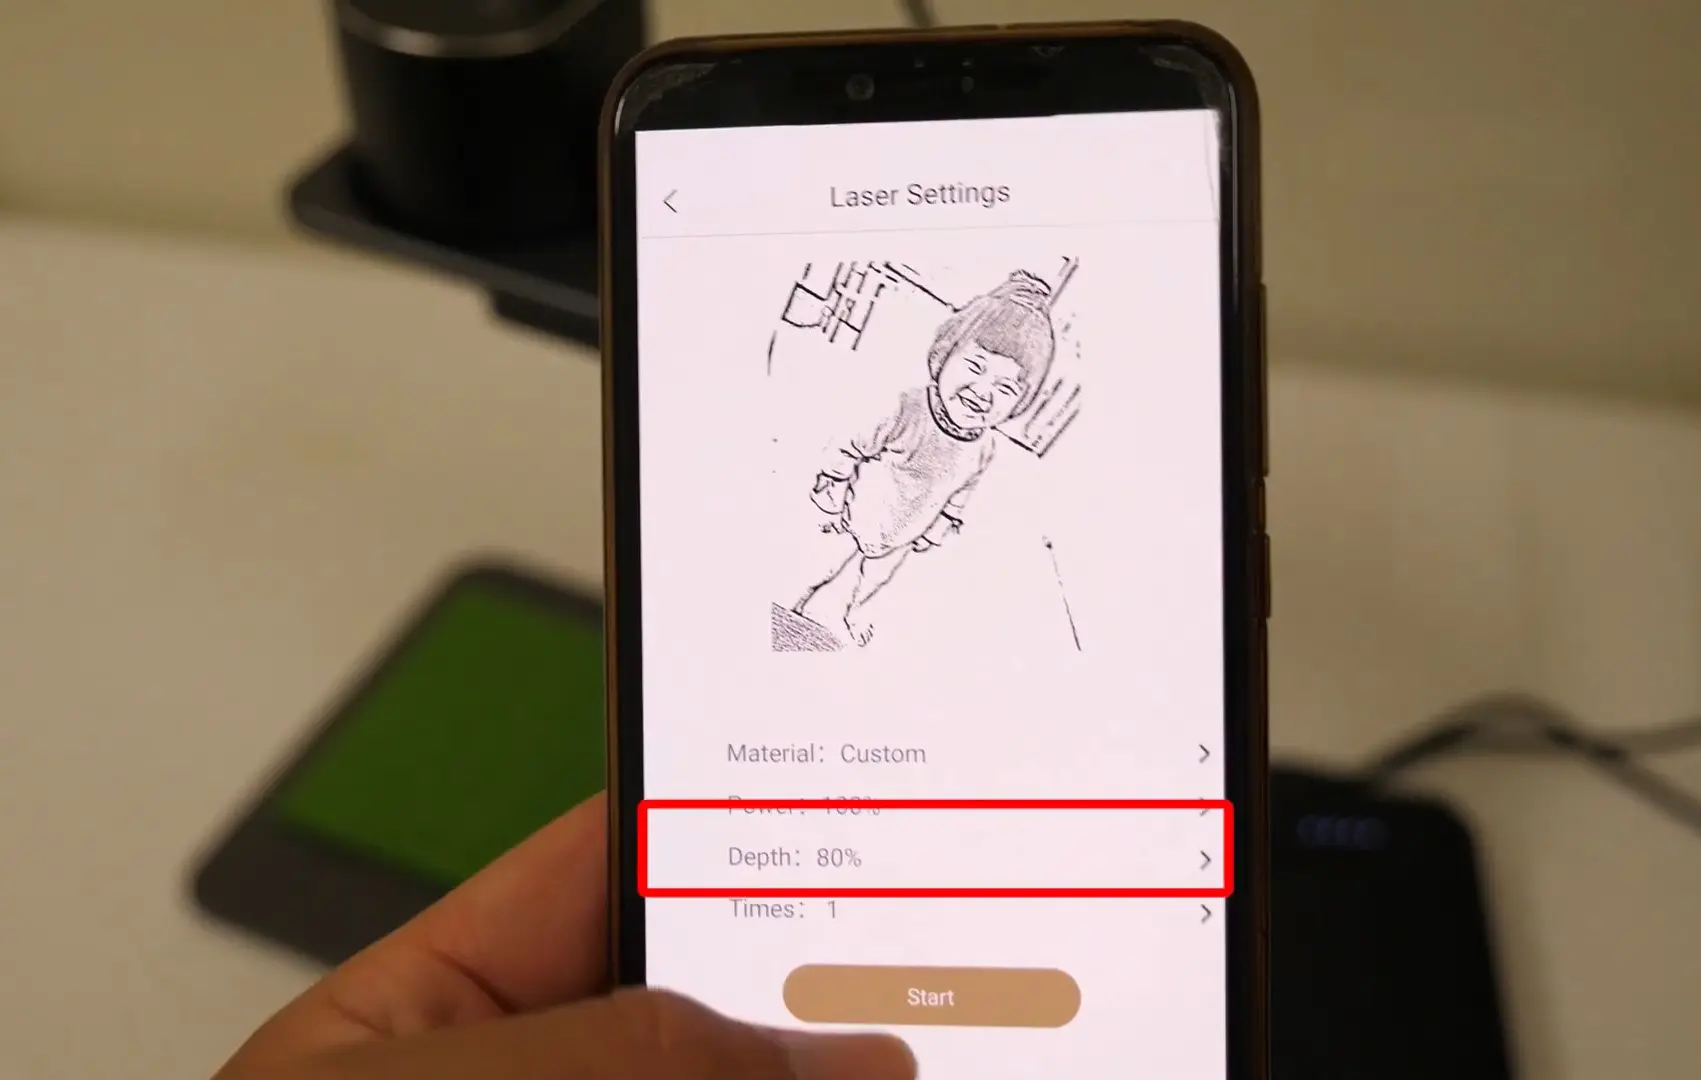
The remaining steps are the same as before, connect the phone via Bluetooth, select the picture you want to engrave, adjust it to the way you want, and then engrave.
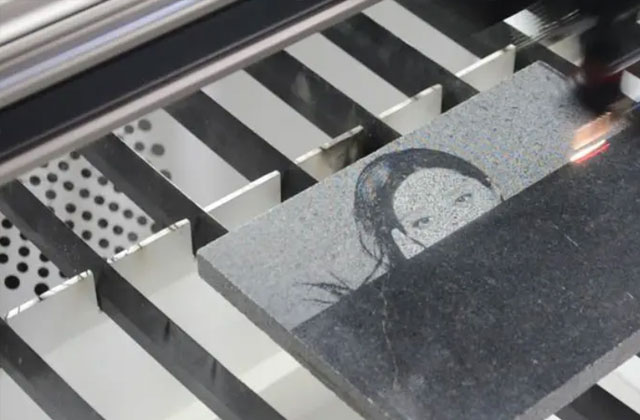
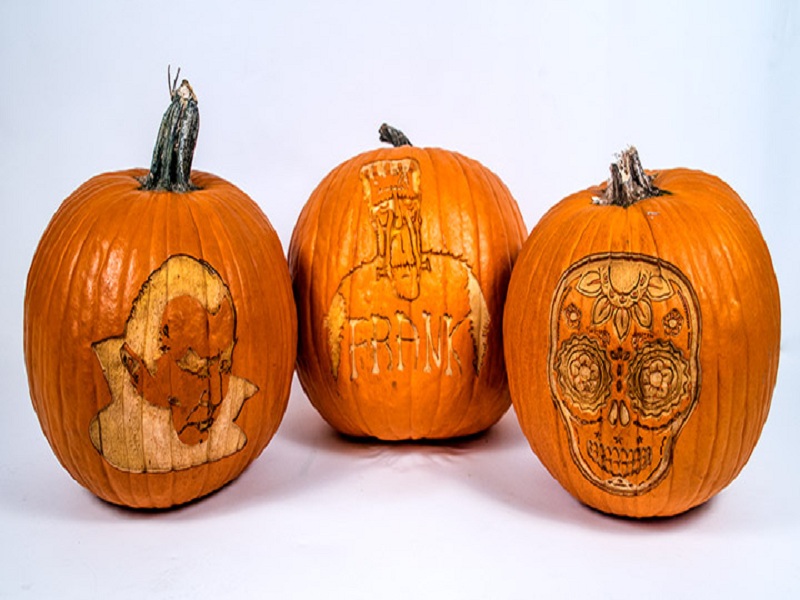
Engraving Quality
Now, let's see the result of the engraving. On the left is the original version, and on the right, is the Pro version. You can immediately know which is better.
As you can see from the pictures, the Pro version generates more detail, but at the same time, the sculpting feels too shallow and seems less powerful than the original. The trick part is that you have to make sure you choose a higher depth when sculpting.
Say you want to engrave on felt material, choose 80% depth instead of the default 10% depth and you will get perfect results.
Now you might ask if the engraver used other materials. So we tested a lot, like a lot of materials. The sculpting is great and very detailed. And now the Pro version even handles the plywood, which is really difficult for the first generation! We've also tested it on bamboo, paper, plastic, ceramics, clothing, and even metal! I mean, of course, painted metal like those thermos bottles. You must be warned that it cannot be engraved directly on metal.
In Conclusion
All in all, is the LaserPecker 1 Pro an improvement over its predecessor? Really! With an auto-adjusting stand and a new laser sensor, the Pro is easier to use, produces more detailed pictures, and handles more materials. Basically, the LaserPecker Pro has everything the original does, but can do a lot more.
So my buying advice to you is if you have more budget then go for the Pro version, but if you are on a tight budget or just want to try a laser engraver, you can consider the original LaserPecker (Standard version).