The LaserPecker 2 has been a huge hit lately...I always thought of a laser engraver as a tool until I got the LaserPecker 2 Pro laser engraver. It has a cute name and a cute size, but let's see if this engraver has any impressive features.
What is It?
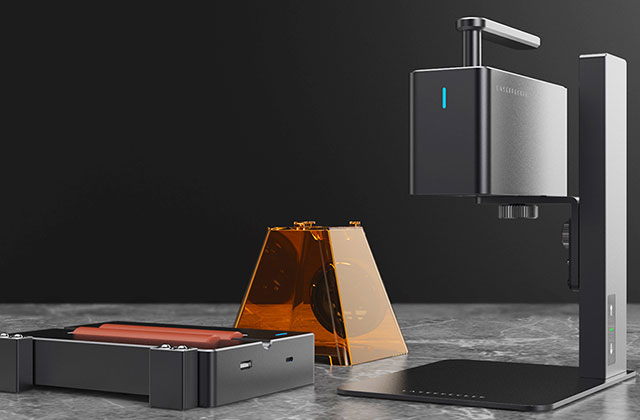
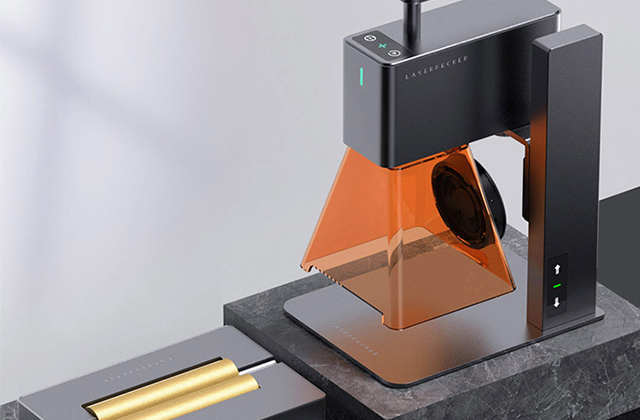
The LaserPecker Pro 2 is a compact laser engraver designed to be easy to use and easy to move from place to place. I received a LaserPecker 2 Pro, where "Pro" means it comes with a drum motor accessory.
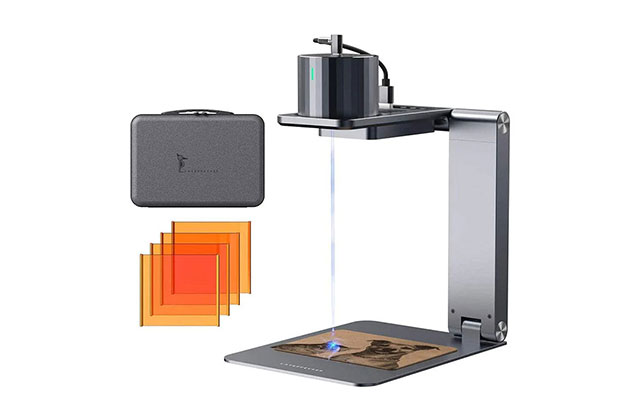
What's in the LaserPecker 2 Pro Box?
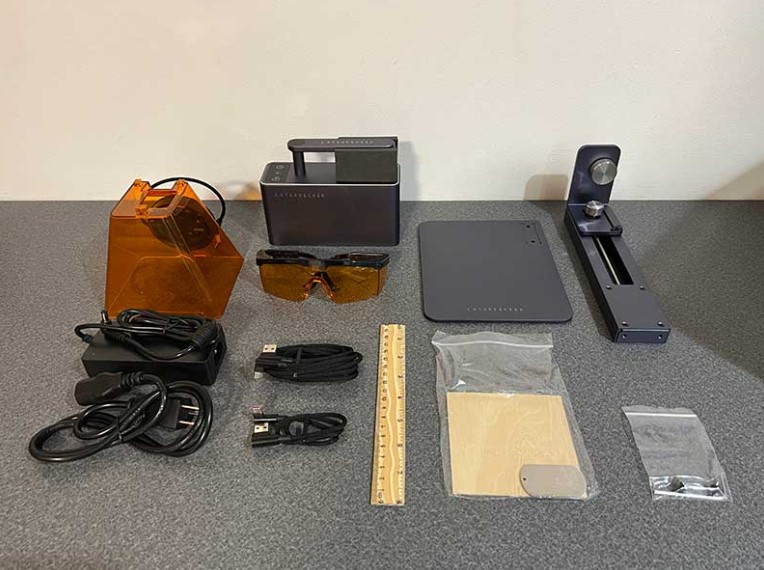
- LaserPecker 2 Engraver
- Laser shield
- Electric stand
- Power cords and adapters
- USB cable
- Goggles
- Ruler
- Wrench and screw
- Sample material (veneer, steel dog tags)
- Quick Start Guide
- Hardware Specifications
- Power - 5W
- Laser Type – 450nm NICHIA Diode Laser
- Engraving Size – 100*2000mm
- Resolution – 1K/1.3K/2K
- Engraving speed – 6mm/s-600mm/s
- Preview Speed – 3750mm/s
- Input – 12V 5A | 100-240V | 50-60Hz
- Wireless transmission - high-speed Bluetooth 5.0
- File formats – jpg, SVG, png, BMP, G-code, CAD, AI, CDR, dwg, etc.
- Operating System – Mobile: Android and iOS, Desktop: Windows and macOS
Design and Features
The LaserPecker 2 laser engraver must be assembled, but don't worry because all you have to do is use the included Allen key to secure the base to the bottom with two screws.
You must also connect the included USB cable from the engraver on top to the motorized stand. This connection allows touch-sensitive buttons on the stand to control the height of the engraver unit relative to the base.
There are 4 ports on the back of the LaserPecker unit. There are 2 USB-A ports for the motorized stand lift mechanism (as above) and the laser shield/fan. There is a USB-C port for connecting the engraver to a computer, as well as a power port.
The laser shield is attached to the bottom of the engraver. It slides into place easily and can be easily removed when you want to use it. Also, note that the LaserPecker 2 laser engraver has a handle on the top. The handle makes it very convenient to move the device from one place to another, but you can also take the engraver off the motorized stand and engrave it against the material.
Laser shielding has multiple functions. First, it has special plastic to protect your eyes while laser engraving (you should also wear the included glasses for double safety). The guard also makes it easy to adjust the height of the engraver, which must be 110mm away from the material you want to engrave. Oddly, they include a ruler in the package, but it's in inches and centimeters, not millimeters.
Let's Sculpt Something!
The easiest way to use your engraver is to use the LaserPecker mobile app. The app connects to the engraver using Bluetooth, and you can choose from a range of included graphics, import your own, or even draw your own using the simple drawing tools in the app.
For my first test of the LaserPecker 2 Pro laser engraver, I selected the LaserPecker logo and accompanying wood block from the app.
I set up the engraver in my office, put a piece of wood on the base, and lowered the laser shield until it touched the base so it needed to be 110mm from the laser. Then, in the application, I selected the type of material I wanted to sculpt and accepted the default settings for power, depth, and the number of passes.
After about 10 seconds, I finished laser engraving the LaserPecker logo. Wow!
I also imported the LaserPecker logo and tested it on cardboard and cork.
The engraving worked really well, and then I tested it on something important...my Midori Traveler's Notebook Leather Cover.
Lately, I've been using stamps with ink for custom covers. I call it tattooing my cover. I only "tattoo" the cover with stamps that make sense to me. Horse and buggy stamps remind us of this year's holiday from Shipshewana, Indiana to Amish Country. The trees on the back represent my love for trees. So for the laser tattoo, I thought I'd draw a small outline of Indiana because that's where I was born, raised, and spent my life.
Here is a simple outline I found with a quick google. I imported it into the LaserPecker app and set the material to leather...
After the engraving was done, I raised the laser shield, and... crap! Tattoos are upside down. what! And what are those other little slashes that aren't in the imported artwork? First of all, the problem with the art upside down is entirely my fault, as I noticed it in the first two tests, but for some reason, I was so excited to sculpt something I love to see every day that I Spaced out the fact that I needed to flip the art before I started sculpting. The reason for the extra slashes and dots (I think) is due to the metal buttons and charms under the laser shield. I think the laser may have been reflected off the metal.
I was disturbed by the result of the leather engraving on the notebook cover, so I decided to try and fix it by making a tattoo cover-up. The idea is to make a smaller Indiana outline inside the original inverted outline of Indiana and add a frame around it to cover the corner dashes.
Well, the results didn't meet my expectations (again). Those lines within the Indiana outline shouldn't be there...but that's okay. It adds some extra character to my leather notebook cover. Yes, that's it.
LaserPecker 3-Axis Attachment
In addition to being able to engrave on flat materials such as wood, cardboard, and leather, you can also use the LaserPecker 2 laser engraver to engrave on cylindrical shapes with the additional 3-axis drum motor attachment.
The drum motor attachment is designed to be mounted on the base of the engraving machine and is also controlled by the engraving machine to turn as needed while laser engraving. I think a video explains it better than words, so check out the video below where I show the drum motor accessory in action.
See It in Action
- What do I like
- Quickly!
- Easy to use
- Ability to engrave a variety of materials
- Ability to sculpt on curved surfaces
- What would I change
- Includes a storage compartment
Final Thoughts
The LaserPecker 2 Pro laser engraver is my favorite laser engraver. The only downside to the LaserPecker 2 is the price. I know it was really expensive. However, if you have limited space, want to easily take your engraver from one place to another, and have the budget, I can recommend it for everyone but heavy-duty engravers, now on HTPOW online store 11% off your purchase