Your brand-new laser engraver has arrived. You are probably looking at all the packages and trying to figure out where to start. Some of these laser systems can be heavy, so you may need to ask a friend, family member, or co-worker to help lift and install them in your space and make sure you follow safe lifting methods.
Once it's in place, you may be thinking "what do I need to set up my laser cutter?" Below, we'll outline some of the things you should do so you can start working with confidence.
1. Check whether the machine and accessories are complete
Before you start, take a moment to check everything that comes with your laser cutter and engraver. Make sure you are familiar with the tools included in the package and make sure you download the quick start guide and manual. Everything is digital these days, so you can find all this information online.
2. Now continue to check the laser-cutting machine
Make sure you don't see any dents or scratches that could indicate mishandling during shipping. Shipping is the most dangerous thing you can do with your laser cutter and engraver, so if you notice any problems, be sure to contact support immediately. It's always possible that the box and packaging may look good, but the damage could be due to any drops or bumps that might not be immediately apparent by inspection of the packaging itself.
After confirming that everything is working, connect the power and fill the water system with distilled water (never use anything other than distilled water unless the support technician instructs otherwise). Firing the laser without properly setting up the water system can severely damage or destroy the laser tube inside.
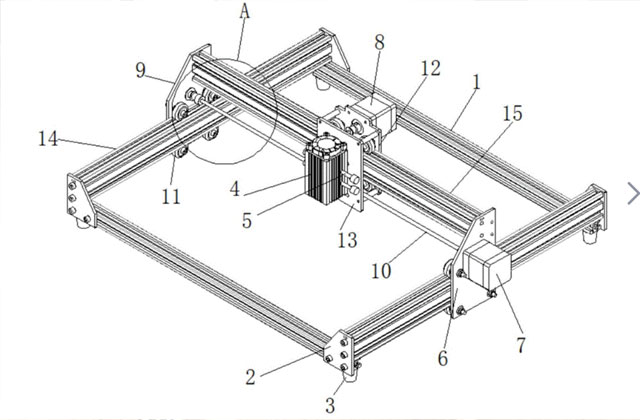
The next thing we will do with the laser cutters and engravers is taken a closer look at the optics inside (beam combiners, mirrors, and focusing lenses). Your laser should come with some tools. This step requires the following.
- Optical lens wipes
- Hex keys (2.0 and 2.5)
- Thermal Paper
- After collecting these tools, check the alignment.
For our machines, the laser tube that comes with your laser machine is carefully calibrated at the factory. Even when calibrated during the quality inspection, optics can experience vibrational misalignment during shipping, so it's always good to check before you start using the laser system.
After verifying alignment, use an optical-grade lens wipe to clean the optics. Clean all dust and fingerprints from lenses and beam combiners, and make sure your mirrors are 100% reflective. If your laser seems to be losing power, especially the further the laser head is from the tube.
3. Continue to follow the steps below to check alignment and clean everything.
If you bought a rotary attachment with a laser engraver, you might be happy to start engraving on some glasses or glasses. If you purchased a friction swivel attachment, make sure the rubber o-rings are free of dust and in good shape. If you purchased a chuck turntable, make sure you have all the tools you need to tighten and adjust the chuck to make sure everything goes smoothly.
If you also purchased a fume extractor with a laser cutter, open each compartment and inspect each filter to make sure all packing material has been removed and all plastic packaging has been removed from the filter. If you ordered an exhaust fan for your laser cutter, make sure the ducts are properly sealed and routed to prevent you from coming into contact with any fumes or fumes.
For all your other accessories, such as lens kits and other components, make sure everything is present and kept in a safe place to avoid loss or damage. Some of these components are quite small, so it's best to keep them somewhere you know they won't get lost.
At this point, you have confirmed that everything is in order and that all items have been received by your machine. Now is the time to put all the laser material together. There are a few things you should keep in mind as you work with different materials on your laser cutter and engraver. Make sure you buy enough of each material type to test for the best results. This is especially useful if you are using materials that you have never used before or purchased from other sources. Once your project is complete, keep any larger scraps of that material so you can have some ready for future testing.
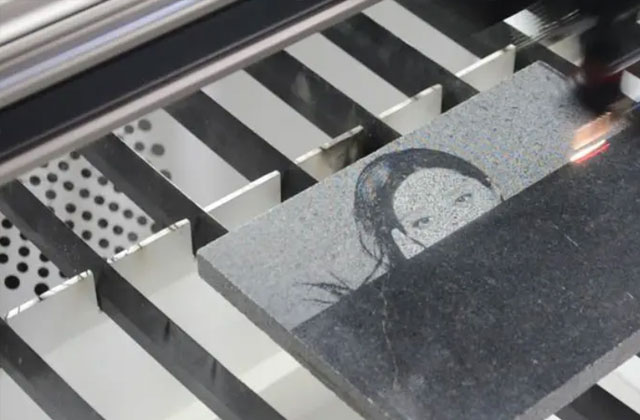
You can generally safely cut and engrave wood and other organic materials, but there may be some materials you have never used and you don't know if they will produce harmful fumes inside the laser (such as PVC or ABS). You can contact the manufacturer of the material or the source from which you purchased the material and request an MSDS to ensure that the material you wish to use does not produce fumes that are harmful to your health or that could damage your machinery.
If you have any questions, or if you're just struggling with a particular aspect of the setup process, we're here to help.
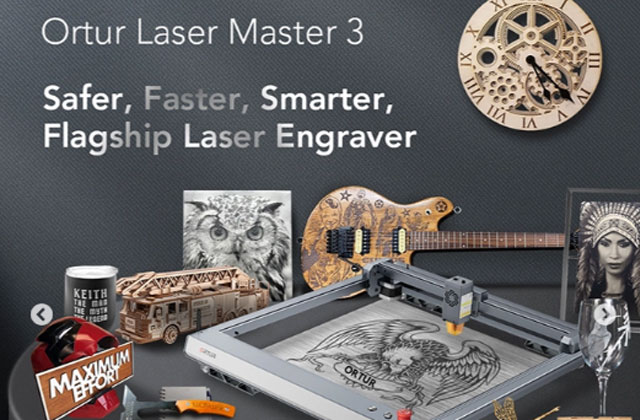
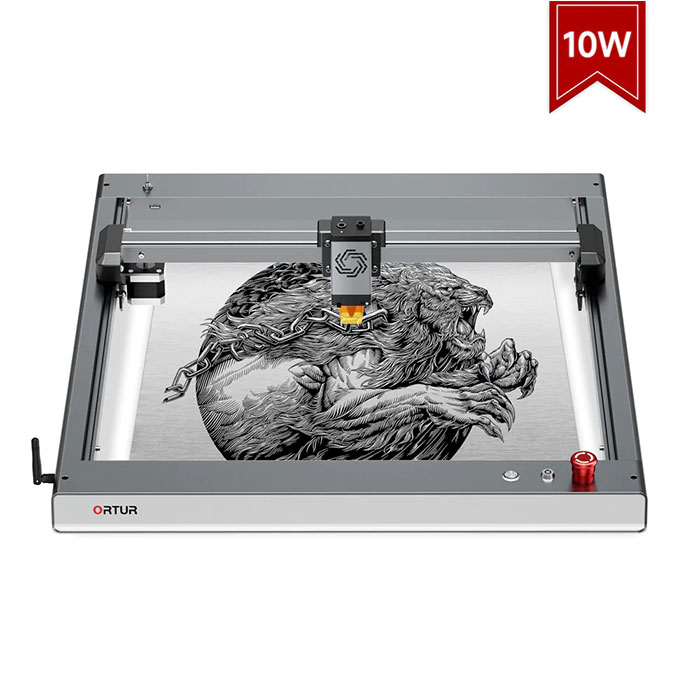
The Ortur Laser Master 3 is the leader in easy-to-use, versatile laser cutting and laser engraving machines. Contact HTPOW today for more information.