
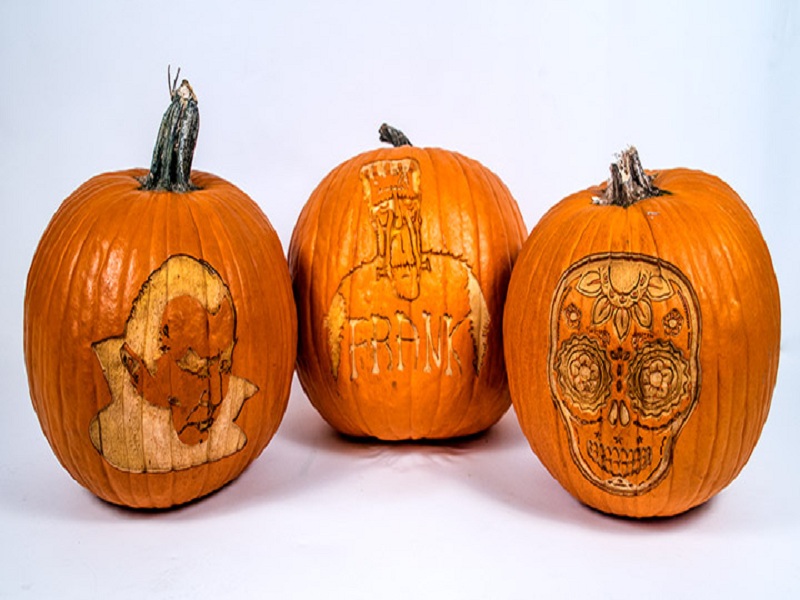
We've all seen beautiful glass laser engravings in stores. Although these commercially available items are usually mass-produced using sandblasting or chemical etching processes, you can learn glass engraving - how to engrave the glass with the xTool D1 Pro laser engraver. With a little practice, you'll create stunning laser-etched creations that not only rival store-bought products but are fully customizable.
I'm always keen to try new things with a laser engraver. Yes, I'm greedy, and now, I'm wondering if laser glass is an option for etched effects.
I've seen a few posts online about varying degrees of success, so my plan is to have everything I need ready to try over the weekend.
How to Choose the Best Glass for Laser Engraving
There are actually dozens of types of glass and all have different formulations, and although they almost all contain silica (silicates) primarily, they can contain different additives to change the way they behave. You may have heard of soda glass, pyrex, lead crystal, etc., each with different properties. Determines the success of laser engraving glass.
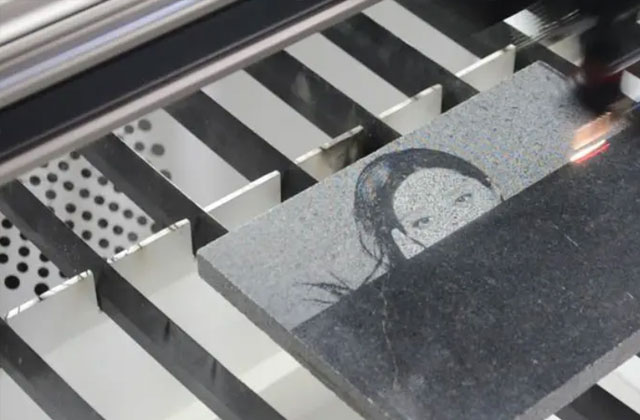
To understand this better, we need to understand how glass laser engraving works. If you're laser engraving wood, the laser beam hits the wood and vaporizes it - that's what creates the smoke. However, glass behaves differently. Instead of evaporating the glass, the laser beam hits the glass and causes it to expand rapidly at the point where the laser beam (only 0.1mm wide) hits it. The surrounding glass doesn't expand as quickly, so the area under the beam will break. This microfracture is what creates the engraving on the glass surface.
The best laser engraving glass is actually the cheapest - store beverage glassware laser engraves very well and is a great option to start learning how to laser engrave glasses and get the best results from a laser engraver with a rotating attachment.
Well, Let's Start Our Glass Laser Engraving
First the basics, I have laser glass set up on some scrap wood on top of my xTool aluminum lift platform, which allows me to lift the material up to about 1.75" from the glass and focus to the smallest point I can manage as needed.
I then imported the "usual" trial image into LaserGRBL and adjusted the contrast slightly to make the image as sharp as possible.
I wanted to be able to keep most of my settings the same in every test - fewer changes, fewer options to forget what worked and what didn't, so I measured my glass piece and put the size of the design The settings are 100mm², the engraving speed is 300mm/min, and the S-Max is 15000. One of the greatest advantages of the xTool D1 Pro laser engraver is the ability to change the size of your work to the size you need.
Once I was happy with these settings, I pressed "Create" and was ready to try out the power settings.
I always find it easiest to start a new trial with a simple setup, so:
- Power 1.0
- Linear 2.0
- Fast 1.0
When the laser was running it looked like it was actually working, was I so lucky that it worked on the first try? Do not!
So, the dirty brown marks laser-engraved beautiful roses on scrap wood, but left almost no trace on the glass - only the thickest lines in the design were even partially visible.
Not being discouraged, I still wanted to try the easy option, so reset:
- Power 2.0
- Linear 1.0
- Fast 1.0
I didn't change any other settings, a new piece of glass in the other corner of the scrap and left...
This time, there were more smudge marks on the glass than anything else, which is not the effect I wanted.
Moving on to other alternatives, I think I'll try the vinyl option. My other half Sean told everyone if he couldn't hit it with a hammer he couldn't but when we moved into this house he did wrap our kitchen cabinet doors in vinyl so I see How easy it is (hahaha) is to put vinyl on something that doesn't have a lot of creases and air bubbles.
I don't think he'd be proud of my efforts, but it's just for testing, so once I've opened up the vinyl as much as I can, I'm thinking about new setups, etc.
I have a glimmer of light at this point, they don't happen very often, but this is a great one - knowing that I want to make a stencil out of vinyl, I don't need to "completely" cut out the shapes, just the outlines - note the vector we are coming!
In all my crafting I know I have a little thing for "weeding", as I said, to leave the mold behind without any damage to the design, of course, I can't find it, so I used a tiny screwdriver like you would use a screwdriver to secure the glasses and remove the screwdriver.
Well, my brilliance only flashed after I started burning out, but stopped and started again, but is still a good idea if it's a bit late.
The next great idea, I'm glad, is to prepare another version with spray paint to burn the stencil into. I'm not going to bore you with all this, but obviously, have to go back to wire-to-wire to burn down the whole design.
Personally, I really like the look of it, it could have been, but the original plan was to etch the glass, so I went ahead.
The instructions for the etching cream are very clear - wear gloves and safety glasses and do not get on your skin. It says to stir well and apply an even thickness to the design, you can see it doesn't cover the vinyl stencil completely and evenly, and it doesn't get any better than paint.
After 1.5 minutes, the instructions say to move it with the brush, move it again after 3.5 minutes, and wash it off after 5 minutes. I washed it off following the directions and I don't think anything happened, but if you try to look through the frosted glass and put water on it, it looks clear so once the two pieces are dry they look a little smoky Smoked - yes. Time to remove the vinyl and paint.
The first photo is the vinyl version, and I found a pokey thing that's clearly a "retractable pokey tool" to remove a little bit of vinyl from the template.
I have some paint left so I'm sure which is which and as you can see they are all about the same quality. So it's clear that using etch paste in combination with paint or vinyl is effective. But etching paste is quite expensive, and it takes a long time to remove the paint with pure alcohol. There must be another way…………..
The problem with glass is that the laser beam either reflects off the glass or goes straight through it. To stop this from happening, I used some kid's poster paint, which came in large supermarket bottles for a few cents and smeared generously behind the glass.
I turned the power up and slowed down:
- Power 2.0
- Linear 0.3
- Fast 1.0
The best thing about using poster paint is that it's water-based, so it can be quickly rinsed under the faucet,
The opportunities with the xTool D1 Pro are endless, I can't believe how many different materials it can laser engrave with other laser engravers only limited by what I can get my hands on, the only real limit is your imagination.
If you haven't tried laser glass yet, follow the tips above and see what you can make.
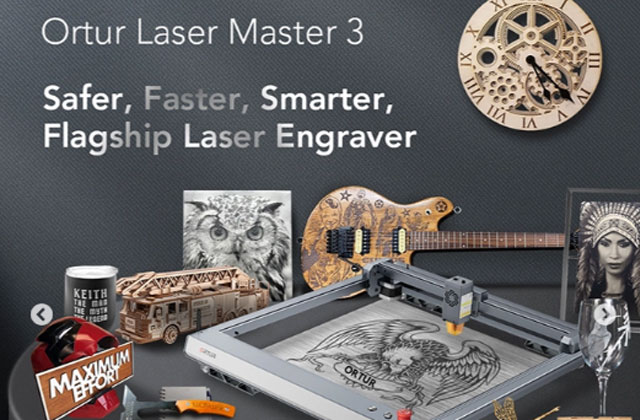
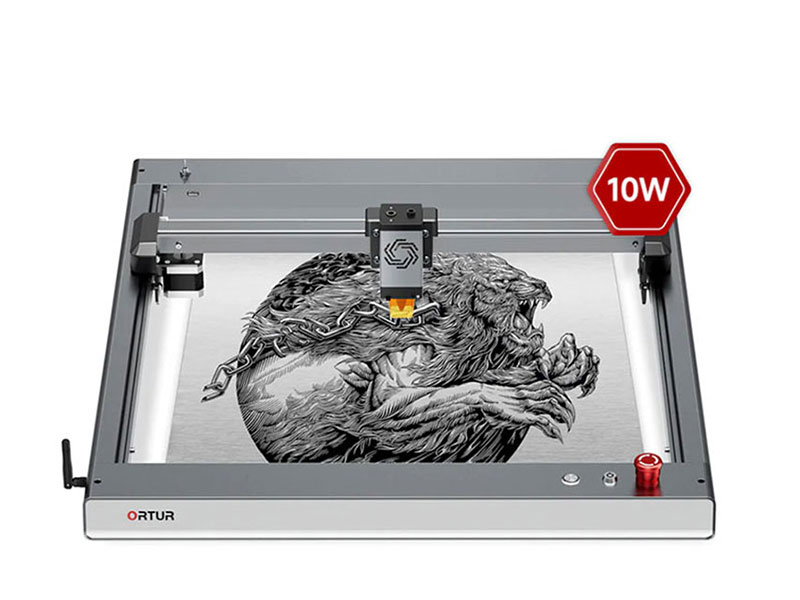
If you need an xTool D1 Pro, you can also visit our online shop HTPOW, which has many choices of laser engraver, such as Ortur Laser Master 3, Atomstack S20 Pro, etc.


.jpg)