The first major influencing factor you must consider before cutting any laser engraver for acrylic is what to expect from a laser cutter. Does the final product need to be perfectly flame polished and optically finished, or whether the part will be used as a mechanical part and edge quality is not too important?
Influencing factors
Listed below are some of the main factors influencing a good laser engraver.
- Type of engraving machine
- Acrylic type
- Laser parameters
- Strength
- Frequency
- Speed
- Laser Process Settings
- Table settings
- Lens and focus
- Exhaust
- Gas
Material preparation
By managing these variables, we are able to ensure flawless, reliable, and repeatable laser cutting of our acrylic materials.
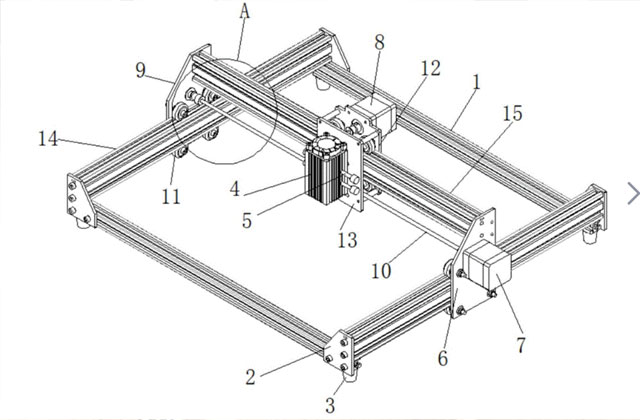
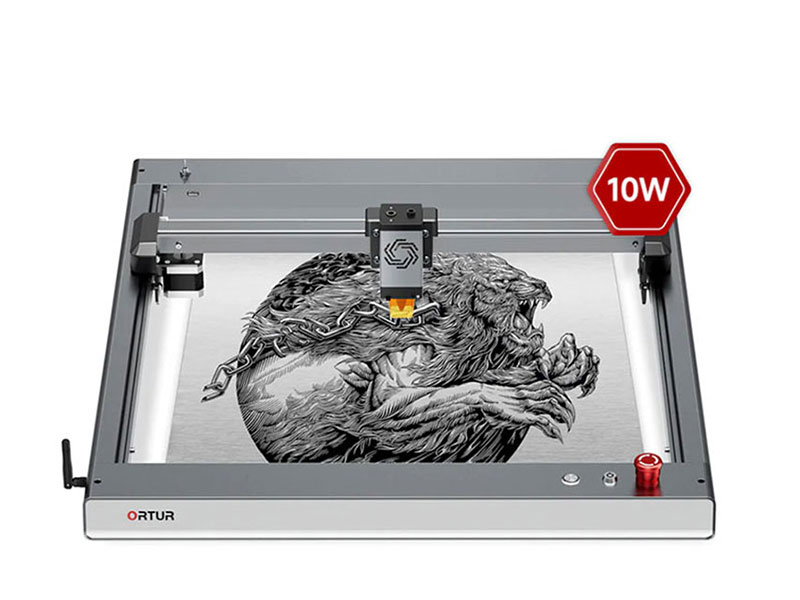
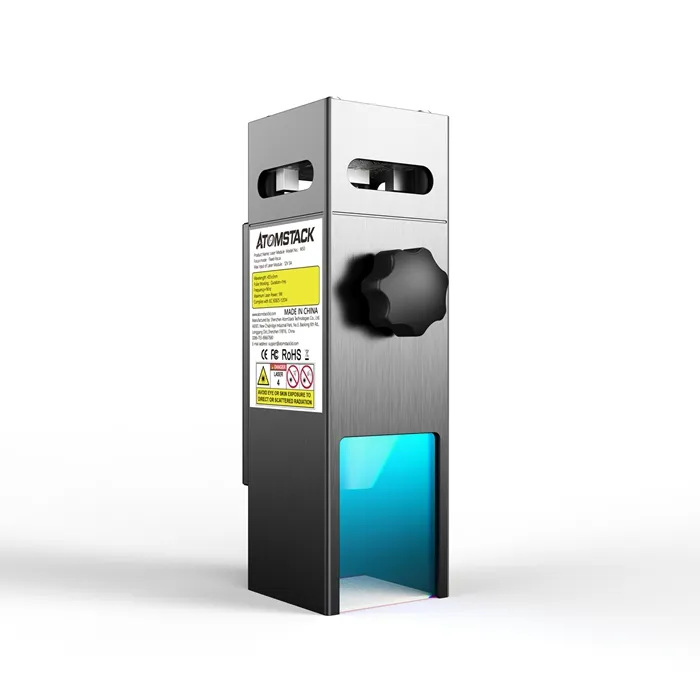
Types of Laser Engravers
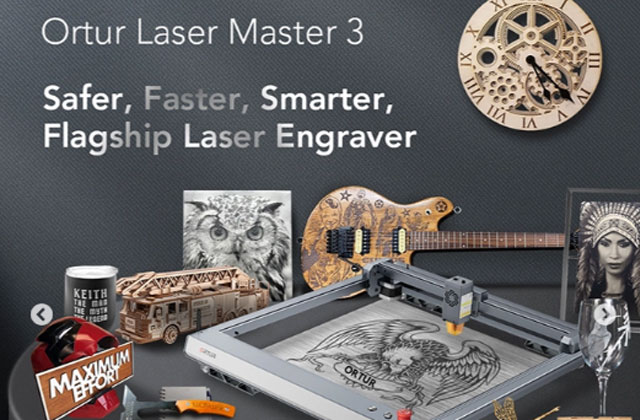
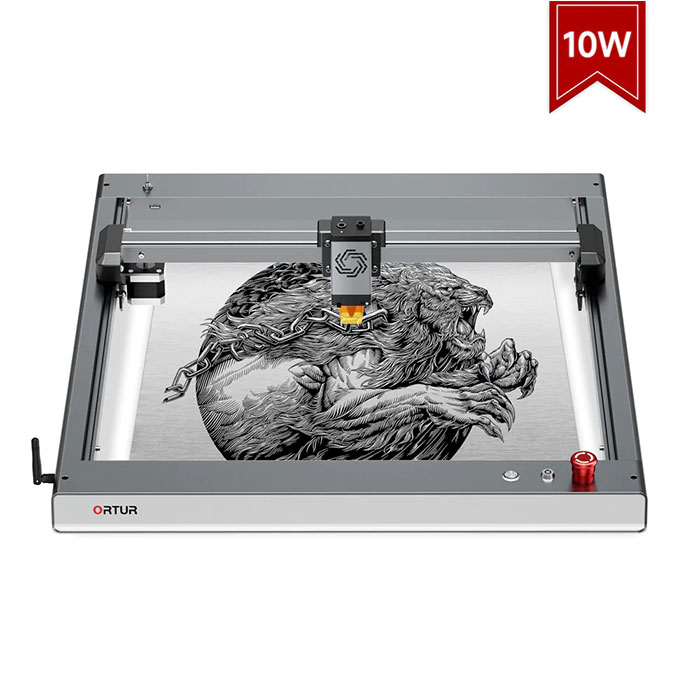
1. For example, the Ortur Laser Master 3 engraving machine is equipped with 10W and 20W laser heads. I would recommend that you use the 20W Ortur Laser Master 3 when engraving, so that the cutting speed will be faster.
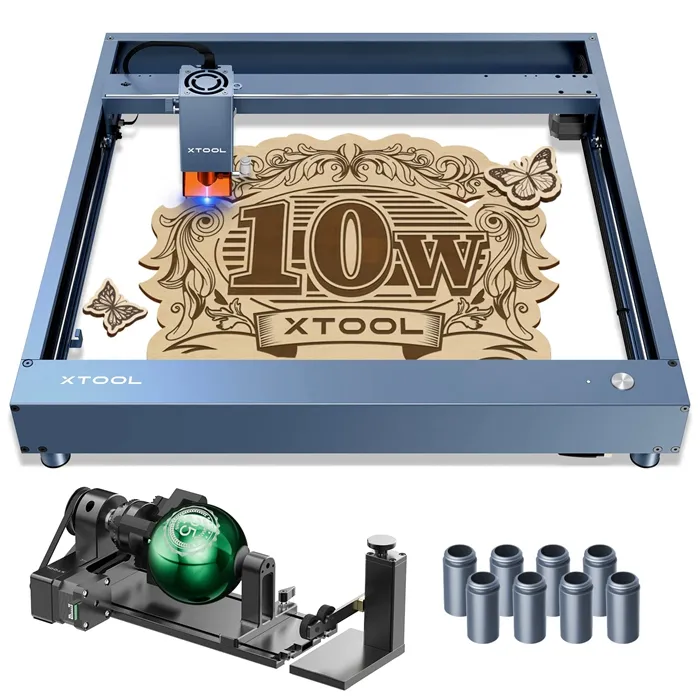
2. Another recommended one is xTool D1 Pro, its engraving speed is very fast, can reach 400mm/s, neng'qi
Laser Physics
The physics behind perfect laser cutting with acrylic can be daunting, but luckily, we can simplify the process by understanding the important topics.
Type of Phase Transition
Acrylic is cut by evaporating solid material. The laser light is absorbed by the material, causing it to change from a solid to a liquid and then to a vapor. This is done through very low levels of chemical degradation. To help combat the large amounts of steam produced by laser cutting, it is important to have a high-quality, powerful vacuum system to remove the steam. Vapors emitted during laser cutting are highly flammable, so never leave the laser system unattended while cutting acrylic.
Gentle air will blow the steam away from the cutting area to prevent the steam from igniting. This gentle airflow also helps to solidify the remaining liquid along the cut line; this will help create a glossy, smooth flame-polished finish on the cut surface. But this is a double-edged sword, if the airflow is too high, the cutting edge will be disturbed during the solidification stage, resulting in a frosted or wavy cutting edge. Therefore, a variable pressure regulator must be installed on the air assist pump.
Types of Acrylic
There are two main types of acrylic you will typically encounter, cast acrylic and extruded acrylic. The two acrylics have slightly different chemical compositions and are manufactured in different ways, resulting in vastly different cutting properties. For most applications, cast acrylic may be the right material for you, but in certain situations, extruded acrylic may have advantages over cast acrylic. The main differences are shown in the table below.
Cast Extrusion
- General
- A variety of colors are available
- More expensive
- More thicknesses available (2mm to 200mm)
- Greater thickness tolerance (>±5%)
- Fewer colors available
- Cheaper
- Available in smaller thicknesses (30μm to 25mm)
- Low thickness tolerance (<±5%)
- Laser
- High contrast for engraving
- Trim without burrs
- High molecular weight
- More power required - higher melting point
- More critical parameters for flame polishing
- Low contrast for engraving
- Sharp burs at the laser cut line
- Low molecular weight
- Requires less energy - lower melting point
- Parameters are less important for flame polishing
Laser Power
As a typical rule of thumb per 10 watts of power, you will be able to cut 1mm/0.04" of material. This will allow you to flame polish the cut and provide good production speeds. That doesn't mean you can't cut 12mm/0.5" with a 60-watt laser, it's still possible, but the cut quality won't be great and the process will be much slower. Generally speaking, more power is better. This gives you the versatility to cut extremely fast on thin materials and gives you better-cut quality on thicker materials, peak power is key!
frequency
The frequency value will vary depending on the material and type of cut you want to achieve.
Flame Polished Cutting
Cast acrylic usually starts at high frequencies (20 to 25 kHz).
Common in low frequency (2-5 kHz) onsets of extruded acrylic.
Separate Cut
A common start is the frequency of cast acrylic (9 to 12 kHz).
Extruding acrylic usually starts with a frequency (5 to 10 kHz).
By reducing the frequency of the laser, you are actually reducing the cutting energy of the laser by reducing the number of laser pulses in a given time frame. However, this can help reduce burning and reduce boiling but does result in a slower cut.
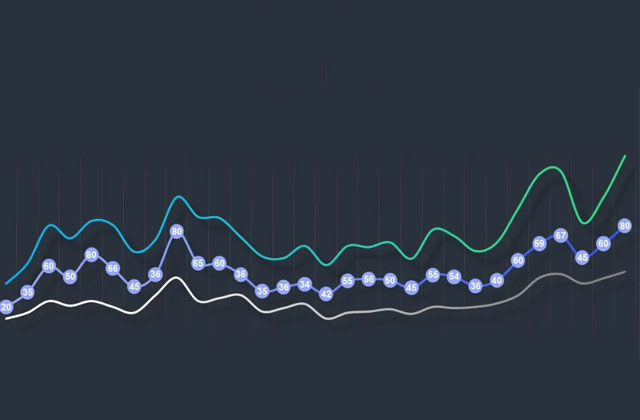
Speed and Cut Quality
Cutting speed is determined by two factors, quality requirements, and laser power. Typical cut types and their speeds are shown above. The light blue line indicates a split cut, a cut where edge quality is not a priority. The second type of cut is indicated by the dark blue line, which is a premium cut.
Cutting speeds vary widely, depending on the level of quality you want to achieve with a given thickness of the material. As the laser power increases, the speed also increases linearly. For example, a 20W laser cutting 10mm thick acrylic will be twice as fast as a 10W laser cutting the same material.
Lens and Focus
Lenses are an important factor in the acrylic cutting process, they have different focal lengths that affect their beam radius and waist length. Without getting too technical, the lens takes care of the shape and quality of the cut edge.
For materials up to 20mm/0.75" thick, you should use a 2.5" lens if your laser power allows it. For lasers below 120 watts, if you increase the lens focal length value linearly with increasing material thickness, you will notice a significant improvement in cut quality. Trotec Laser offers lens options from 1.5" to 5" versions. For materials 3 to 6 mm (1/8 to 1/4 inch) thick, you will be able to cut faster with a 2-inch lens.
For materials thicker than 20mm/0.75", or if your laser power exceeds 200 watts, you will get the best results with a 5" lens.
As for Focus, For Best Results, Follow These Rules.
Do not defocus the laser if the material you are cutting is thinner than 10mm/0.4".
When cutting material thicker than 10mm, laser defocusing so that the focal point is 1/3 of the way through the material will yield the best results (for 12mm material, use a z-offset of -4mm).
Defocus the laser if the cut edge is not straight or wavy at the base of the cut edge.
Laser defocusing makes better use of the beam and you can take advantage of the beam waist for straighter and higher-quality cuts.
Table Settings
When flame polishing acrylic, a cutting table must be used to cut the acrylic. Trotec Laser offers acrylic or metal cutting table options for your laser. Acrylic cutting tables are essential for high-quality flame-polished cuts. When cutting acrylic on a metal cutting table, laser energy can strike the metal cutting table and bounce back into the material, creating dents or vertical marks along the cut line. By using an acrylic cutting bed, the bed will absorb the laser energy without bouncing it back to your workpiece. There are also acrylic sheets available for purchase that do the same job, but for larger objects.
As mentioned earlier, suction from below is important to remove flammable acrylic vapors from the laser chamber. Trotec Laser provides a vacuum bed for its lasers on which the cutting table can be placed. This gives you the benefit of the basic use of an acrylic cutting table and vacuum table. While the material is on the acrylic cutting table, you can place scrap or thin sheets of aluminum on the laser bed to cover the exposed areas where the vacuum can escape. By doing this, you can increase the strength of the vacuum beneath the acrylic for a better cut.
Exhaust
Quality cuts are impossible without quality exhaust. The exhaust system serves two purposes; first, it avoids burning materials. Good acrylic cutting is hot and generates a lot of gases, which are highly flammable. The exhaust system transports these gases away from the cutting area, preventing them from igniting.
Second, the venting controls the curing of the liquid acrylic. The airflow through the kerf cut melts the acrylic from top to bottom, which creates the desired flame-polished cut, otherwise, you'll get wavy horizontal lines on the cut edge.
Material Preparation
A common misconception is that with all laser-cutting processes, the protective film needs to be removed from the material. For non-mass-oriented cuts, leaving a protective film on the material helps protect the acrylic from scratches, fingerprints, and debris. However, if it is paper, it is recommended to tear off the protective film. The paper contains paraffin wax, which can cause burns and result in poor cut quality, especially for flame-polished finishes.
It's also a smart idea to remove the film from the material if you're going to engrave it. This will reduce the time to clear paper/film from non-engraved areas. On the other hand, this can work for you. By leaving the paper on while engraving, the rest of the paper forms a masking layer, so the engraved area can now be filled with paint without worrying about damaging the rest of the acrylic.
Post Processing
If you plan to join laser-cut acrylic sheets, be aware that laser processing will heat the material. This heat can stress the material and cause microcracks when bonding. To avoid these microcracks, refer to the manufacturer's instructions to temper the material before gluing.