Whether you are an accomplished engineer or a novice maker just getting started, learning how to use a laser engraver properly can save time and effort by avoiding possible problems and mistakes.
Knowing how to avoid these mistakes, and not repeat them, is half the battle. With this in mind, HTPOW has summarized the five most common mistakes made in laser engraving, and how you can avoid them in your future projects.
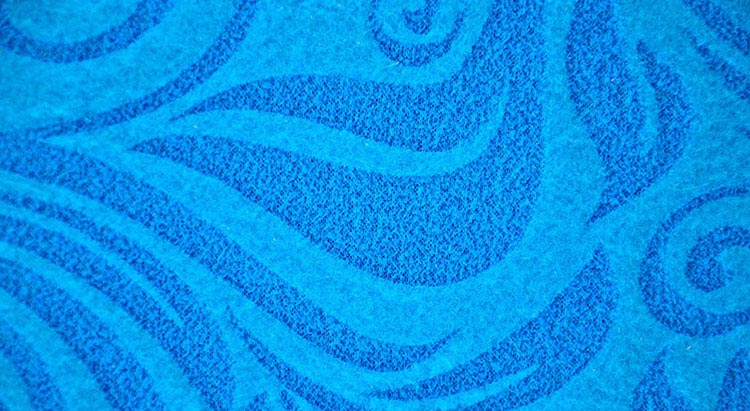
Mistake 1: When Engraving Fabric, The Laser Burns Through The Material
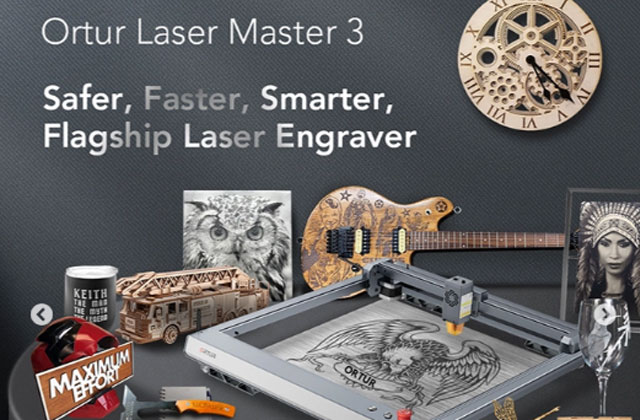
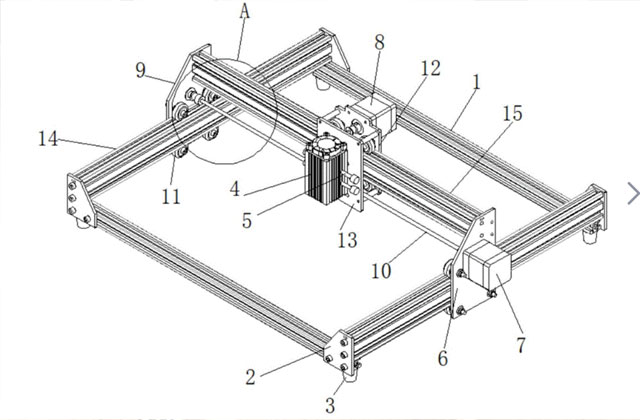
The first step in avoiding burn-through fabrics when using a laser engraving/cutting machine is to understand which fabrics can withstand the process, and the temperatures the fabric can withstand. So you want to set your Ortur Laser Master 3 laser engraving power and speed well. Stronger fabrics such as denim, canvas and leather can withstand higher temperatures when engraving. But for softer fabrics, it is most important to have a fast initial setting (closer to or equal to 100%) and a low power (around 5% to 10%). Test these initial settings on some alternate materials to see if the fabric can hold up to engraving with these settings, and gradually increase the power until you get the results you want.
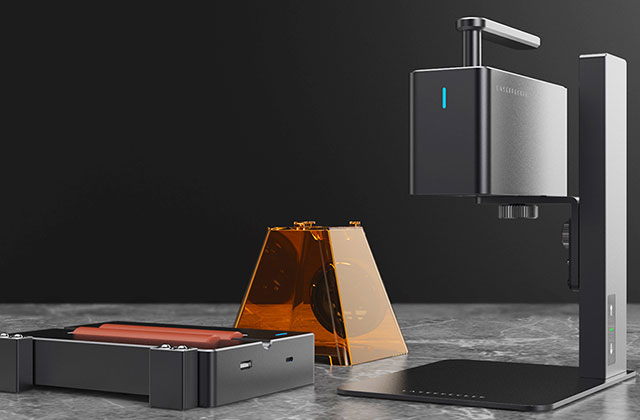
Lowering the dots per inch (DPI) of the engraving area will help when engraving directly on the garment. The higher the DPI, the more material will be engraved away. Engraving at a lower DPI ensures that the laser only slightly evaporates the surface material and does not completely burn through the fabric. Keeping the DPI between 150 and 300 will do a good job of engraving most fabrics. If you want to engrave patterns, it is best to use a laser engraving machine with lower power such as LaserPecker 2, which is specially designed for engraving, and the engraving speed can reach 36000mm/min.
Mistake 2: Acrylic Cannot Be Engraved With A Matte White Finish
This is most likely due to the wrong acrylic material being used in the engraving application. There are two acrylic materials commonly used for laser engraving, and both are suitable for different purposes.
Cast acrylic plates and objects are created by pouring liquid acrylic into molds of various shapes and sizes. This type of acrylic is ideal for engraving because it turns a matte white color when engraved, making it suitable for medals. You can also cut this type of material with a laser machine, but you won't be able to get a flame-polished edge.
Another acrylic material used for laser engraving is acrylic extruded sheet, which is a sheet made by a machine. Acrylic extruded sheet is usually less expensive than cast acrylic material because it is made through a mass production process. However, when engraving this material with a laser engraving machine, the results are quite different. This type of acrylic cuts very clean, smooth and produces flame polished edges. But the cutting effect is not a matte white effect, but a fairly clear engraving pattern. So, if you're going for a matte white finish, make sure to use cast acrylic.
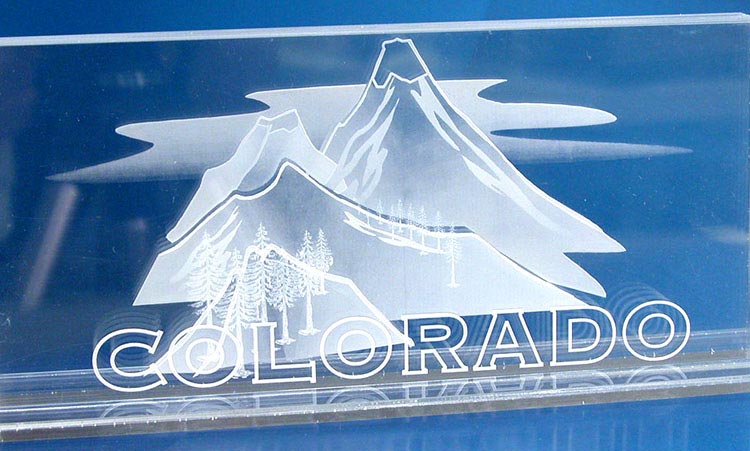
Laser Engraved Acrylic Medals
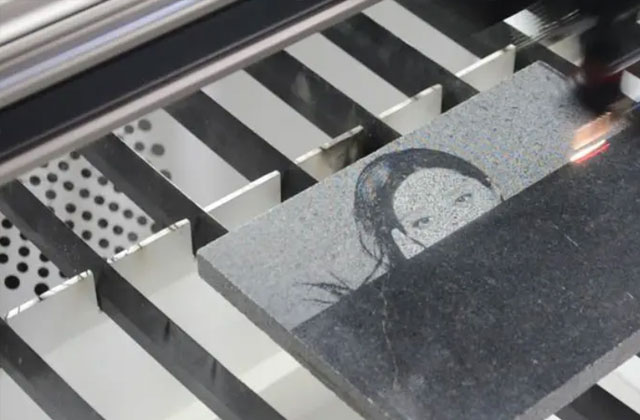
Mistake 3: Contradictory Glass Engraving
Typically, the laser hits the glass and shatters the surface of the glass, but does not engrave deeply or remove the material needed to fully engrave. Broken glass surfaces will have a frosted appearance, but depending on the type of glass engraved, may be rough and chipped. While a matte look is desirable, no one wants a rough or chipped sculpted surface.
To produce a smooth matte finish, try combining one or more of the following tips:
Using a lower resolution, around 300 DPI will produce better results on glass when moving the engraving position.
Change the black in the graph to 80% black.
Using the Jarvis dither pattern (found in the Ortur Laser Master 3) will help achieve a smooth finish.
Sometimes, spreading a thin layer of damp newspaper or paper towels over the engraving area will help dissipate heat and improve engraving quality. But make sure the paper is not wrinkled after laying it down.
Another way to dissipate heat: use your fingers or a paper towel to apply a thin layer of dish soap to the engraved area.
Finally, if there are shards of glass after engraving, use a non-scratch scouring pad to wipe down the engraved area.
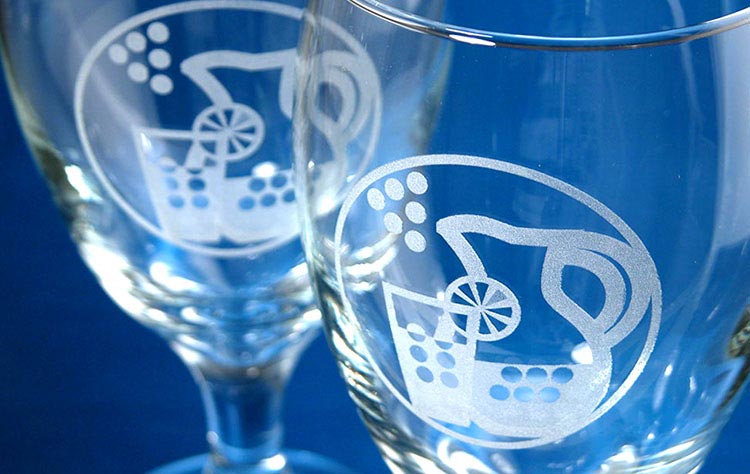
A pair of laser engraved mugs
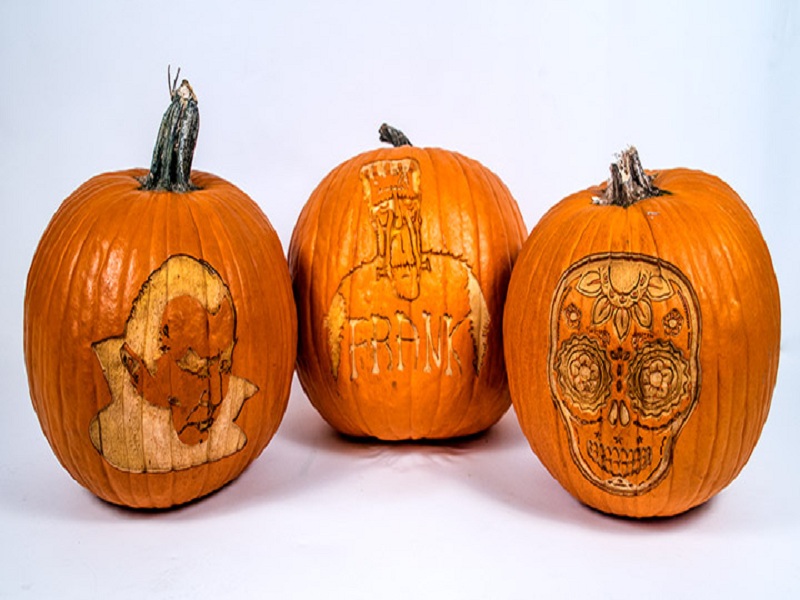
Mistake 4: Wood Carving Gives Different Results With the Same Settings
Wood is one of the best materials for laser engraving because it is not only easy to cut, but also engraves well.
However, different woods respond differently to laser engraving and obtain different results. Lighter woods such as cherry or maple provide very rich contrast when laser ablated away; stronger woods require higher laser power when cutting or engraving.
Depending on the type of wood you're working with, particle density can vary widely. Cherry, alder, walnut, and maple are very close grained, while oak is medium to coarse grained. For example, if you carve a large square in cherry wood, the resulting appearance will be very uniform, with smoother areas and less variation in height. However, if a square of the same size were carved in oak, the height of the appearance would vary greatly, and the appearance would be very non-uniform.
Here are some tips for carving wood:
Maple and alder are some of the most popular woods for carving and provide a rich contrast.
The process of carving bare wood produces smoke and debris that may become embedded in the grain of the wood. To reduce this effect, always carve from the bottom up, which helps to suck out all the fumes during the engraving process.
When carving stained wood, use a damp rag after carving to remove excess smoke and debris from the surface of the wood.
Laser Engraved Wooden Cigarette Box

Mistake 5: Your Laser Engraver Just Doesn't Run As Fast As It Used To
Clean your machine! Just like other types of engineered equipment, a clean machine will produce better results than one that has not been properly maintained. Maintenance requirements are included in your laser machine owner's manual. If performance is degrading rapidly, the first step in fixing the problem may be to inspect and clean the optics.
We recommend checking the optics (lenses and mirrors) in the laser machine weekly and cleaning as needed. If the material you're cutting creates more debris, you may need to clean the optics more frequently. Typically, optics should be a clear golden yellow, bright and shiny. If they look cloudy or have smudges or debris, it's time to clean them up.
in conclusion
These mistakes listed above are very common among manufacturers and designers using laser engraving machines, especially those who are new to using these devices. But as you can see, these problems are easily avoided if there is a sense of correcting mistakes.
We help designers and manufacturers every step of the way in purchasing the right laser engraver, choosing the right material, and understanding how to deal with common mistakes, including a library of knowledge base articles and helpful support for users who encounter challenges.


.jpg)