At the end of each job, with the laser off, wipe each of the 3 mirrors with a damp lens cleaning cloth. These are easy to use for cleaning reading glasses and come in a convenient individual package.
Make sure you have easy access to each mirror by opening the access door, then turn on the wipes.
Fold the rag in half and gently wipe mirror 1 (mirror at the end of the laser tube).
Fold the cloth in half again and wipe the Mirror 2 clean. The mirrors should dry within seconds, and you can use a flashlight to check that they are clean. You may see yellow stains on the rag - that's the smoke residue from cutting and engraving.
Cleaning the mirror 3 is a bit tricky because it's mounted inside the laser head. Take the folded rag and wrap it around the cotton swab. Insert it into the head cleaning mirror 3. In general, we found that the contamination of mirror 3 was much lower than the other mirrors, probably because it was more enclosed.
Do not operate the laser for at least 15 minutes after cleaning to allow the moisture to evaporate completely.
Clean Mirrors - Weekly Maintenance
At the end of each week, we deep clean the mirrors and lenses as the linear bearings and shaft slides are cleaned and lubricated.
To do this, make sure you have full access to the mirror through the access door, and again make sure the laser engraver is turned off when performing the cleaning. We also recommend wearing clean cotton or latex gloves to prevent fingerprints from coming off and to protect your skin.
You'll need a mirror removal tool, or a pair of snap ring pliers if you're careful.
How to Clean a Laser Mirror Laser Focus Lens Cleaning
The mirror is held in place by a threaded ring that can be unscrewed by inserting the tip of a tool or pliers into the two holes on the back of the mirror holder and turning it counterclockwise. Be careful not to apply too much pressure as you don't want to upset the mirror alignment which is critical to the performance of the laser cutter.
After unscrewing the retaining ring, take a piece of masking tape and gently place it on the back of the mirror. This will allow you to easily remove the mirror from its holder.
All 3 mirrors can be removed in this way for deep cleaning.
Instead of wipes, we use a special lens cloth soaked in 100% isopropyl alcohol to clean the mirror. Don't try to use cheaper cleaning solutions as they can leave residue. Never use cleaners containing ammonia on laser mirrors or laser focusing lenses.
How to Clean a CO2 Laser Mirror
Scrub each mirror vigorously to make sure all contamination is removed, then inspect the surface carefully. Any pitting or damage means the mirror should be replaced. Mirrors cannot be repaired and should be considered consumables, so keep a spare set or two.
After cleaning and drying all 3 mirrors, you can put them back in the holder and tighten the retaining ring. Don't over-tighten - they just need to be tight enough to stop the mirror from moving - over-tightening can cause the mirror to crack or deform.
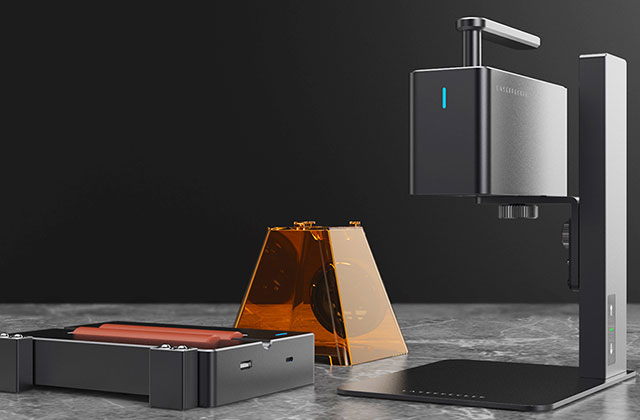
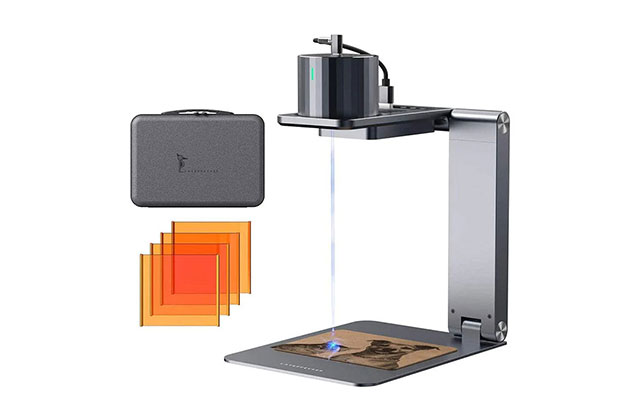
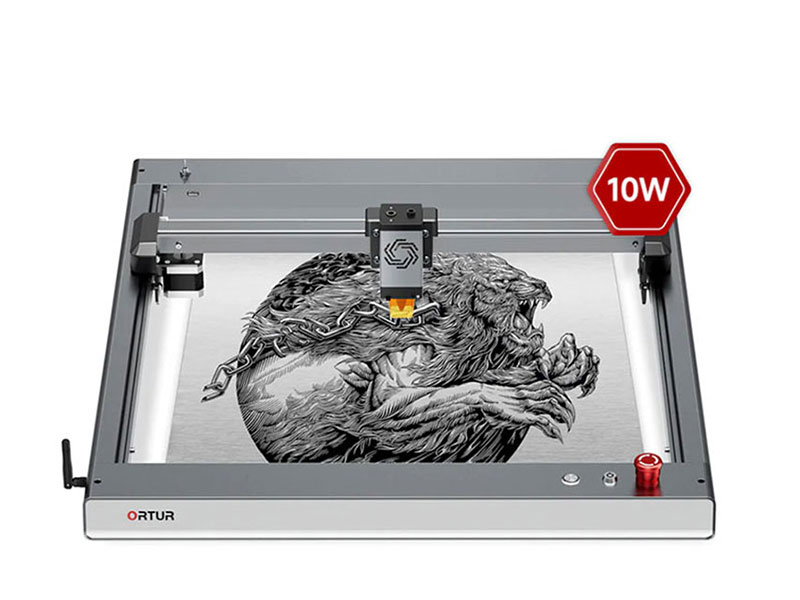
If you want to reduce the number of times you need to clean the lens, I recommend you to buy the LaserPeceker 2. The engraver basically needs to be wiped very little and has a dust cover. Of course, if you need a frame laser engraver, then the xTool D1 Pro and Ortur Laser Master 3 is also a good choice, high laser power, engraving speed blocks
The mirrors can be replaced in any order as all 3 are the same.
- How to Clean a Laser Focus Lens
- Zinc Selenide Laser Focusing Lenses
- We clean the lenses during weekly maintenance or if we notice any degradation in laser cutting performance. This can happen after a long sculpting job, or if you forget to turn on the air assist.
How to Clean a Laser Focusing Lens
There are several types of laser heads available, some mount the lens in the nozzle, while others mount the lens in a lens tube that is held in the laser head with a single screw. It should be obvious to remove the nozzle first. The lens barrel can be removed by loosening the screw. However, you may need to lower the base of the laser cutter to remove it. If your lens is inside the nozzle, simply remove it from the head to use the retaining ring.
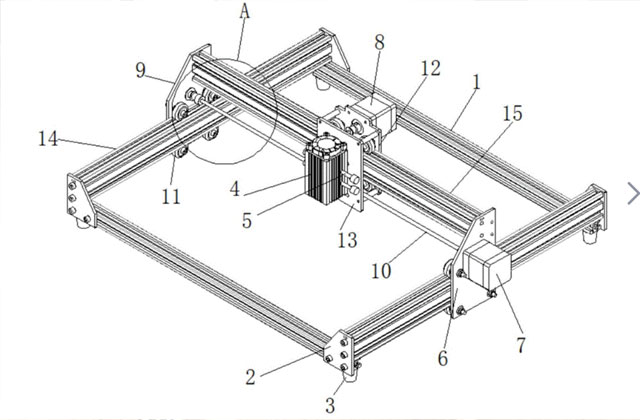
How to assemble the laser head
With the barrel removed, the lens itself is held in place using a threaded retaining ring similar to a mirror, but it's deeper inside the barrel. You will need a removal tool, or again, long circlip pliers may allow you to loosen the ring. Below the ring, you should find a silicon O-ring, followed by the lens.
How to Install the Laser Focusing Lens
Invert the lens barrel and remove the O-ring and lens - be careful when handling the lens as it has a special coating that scratches easily.
Use a lens cloth and pure isopropyl alcohol to clean it the same way you would a mirror and make sure it's completely clean and free of scratches. Damaged lenses should not be used, but should be discarded and replaced. Like mirrors, laser lenses are consumables; always keep spares of the same focal length and diameter.
Laser focusing lens Laser focusing lens assembly Laser head
When changing the lens, carefully place it into the tube, making sure the "convex" side of the lens goes in first, then the O-ring, and finally the threaded ring. Only tighten the threaded ring to "finger tight" - it's just to make sure the lens doesn't move.
When reinserting the lens barrel into the head, the convex side will face up if reassembled correctly. Remember "Crunches" to help!
How to Clean Laser Tube Lenses
There is one more lens that needs your attention, although this may only be needed every few months, or if you have laser performance issues, cleaning the mirror and focusing the lens won't fix it.
At the transmitting end of the laser tube, a small lens is installed. It is fairly deep inside the tube and can only be checked with a mirror. Since it's deep in the tube, it's rarely contaminated, but the buildup of fumes in the laser lumen, for example if a ventilation fan fails, can lead to contamination, so we want to clean it every few months, just in case.
Be sure to perform a quick cleaning procedure with pre-moistened lens wipes at least once a day when using the laser. Additionally, deep cleaning and inspection should be part of your regular maintenance schedule. These preventative maintenance steps will extend the life of your laser mirrors and focusing lenses and ensure your laser is always ready to operate at peak efficiency.
If you need it, you can go to our HTPOW online store to buy, there are event price promotions, there is always something you like.